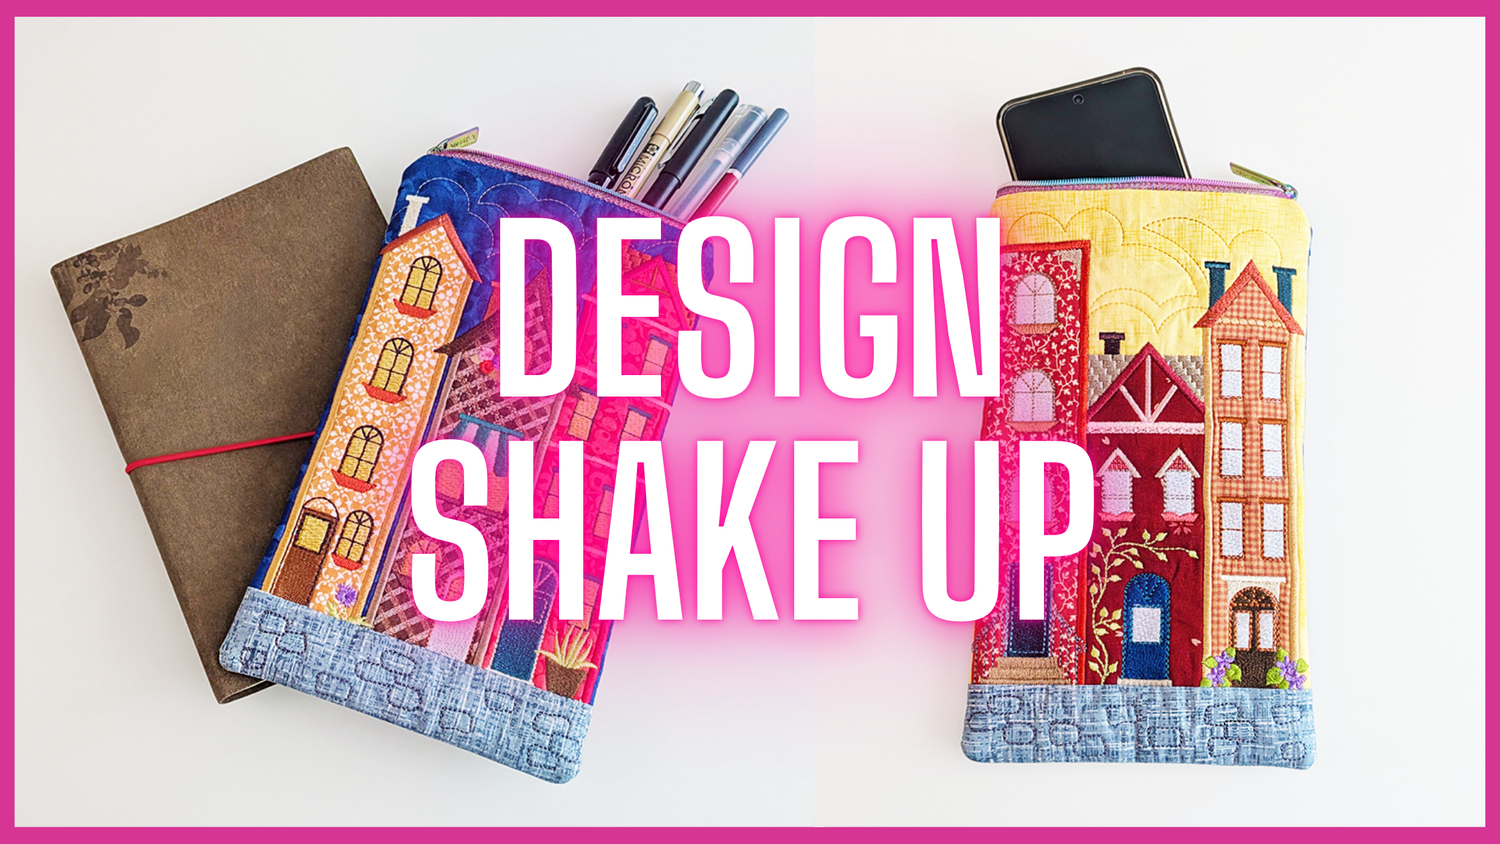
You know how much we love switching up a design to show you its versatility! In this blog, we show you how to turn the Downtown Throw Cushion (or any cushion with similar panel sizes) into a Zipper Purse!
Here’s how to turn our Downtown Throw Cushion blocks into a zipper purse:
After making your two downtown panels, you will need to trim the top edge to 1/4”. You can decide whether to trim back to ½” for the other sides but in this instance, we’ve trimmed all sides back to ¼”.
Prepare your lining – ours measures 6.5 x 10.5” because I used ¼” all around, but yours might be 6.75 x 11”, for example, depending on what block size and seam allowance you use.
Prepare a zipper that’s longer than your block size, we used 9.5” , making sure that the zipper tab is out of the way. We’ll line up the top edges together and head over to the machine. Using a zipper foot, stitch just inside the border already stitched on the block, making sure that your top edges are lined up. Press.
Moving on to attaching the next block to the zipper, follow the same steps but this time, also line up the left and right edges of the block together. Pin or clip to hold your pieces together. Stitch just inside the border already stitched on the block with our zipper foot, making sure that all edges are lined up. Press.
Place your prepared lining right side up and line it up with one side of the zipper. We will stitch it together like before, on the same stitching line. Once complete, flip over to the right side, press, and edge stitch the lining down, making sure both panels are on the opposite side.
Repeat the same for the other side of the lining. Press. Then edge stitch your lining.
Move your zipper pull towards the centre. Have your blocks and linings right sides together, on either side of each other. Make sure that the zipper teeth are facing in towards the lining and pin or clip them in place. Pin or clip everything in place, making sure everything’s lined up. Leave about a 5” opening in the lining, pin if you’d like, to mark the start and finish. In this case we went ahead with sewing without marking the opening.
You can start stitching anywhere but we chose to start just inside the border already stitched on the block and sew the linings together with a ¼” seam allowance. We stopped where the 5” opening starts and then finished off stitching the rest of the piece, starting from where the opening ends.
Trim the excess zipper from either side and the corners of the blocks and linings. You can now turn your purse inside out. We found it easiest to turn the blocks in on itself, then pulling the lining through right sides out before pulling the blocks out to right sides, as shown. It will take some patience. Push your corners out with chopsticks or a turning tool.
Sew or hand stitch the opening in the lining closed. Press.
Your zipper purse is now finished!

If you turn this cushion or any design into a bag, please share with us on any of our social profiles (bottom left) - we'd love to see it!


1 comment
Amelia Vaughn
I love the design shake up! I always think “I could make a coaster ( or other stuff) with that file!” But never have the confidence to do so. Thanks for the advice and ideas with instructions. Ya’ll are GREAT!
Leave a comment
All comments are moderated before being published.
This site is protected by hCaptcha and the hCaptcha Privacy Policy and Terms of Service apply.