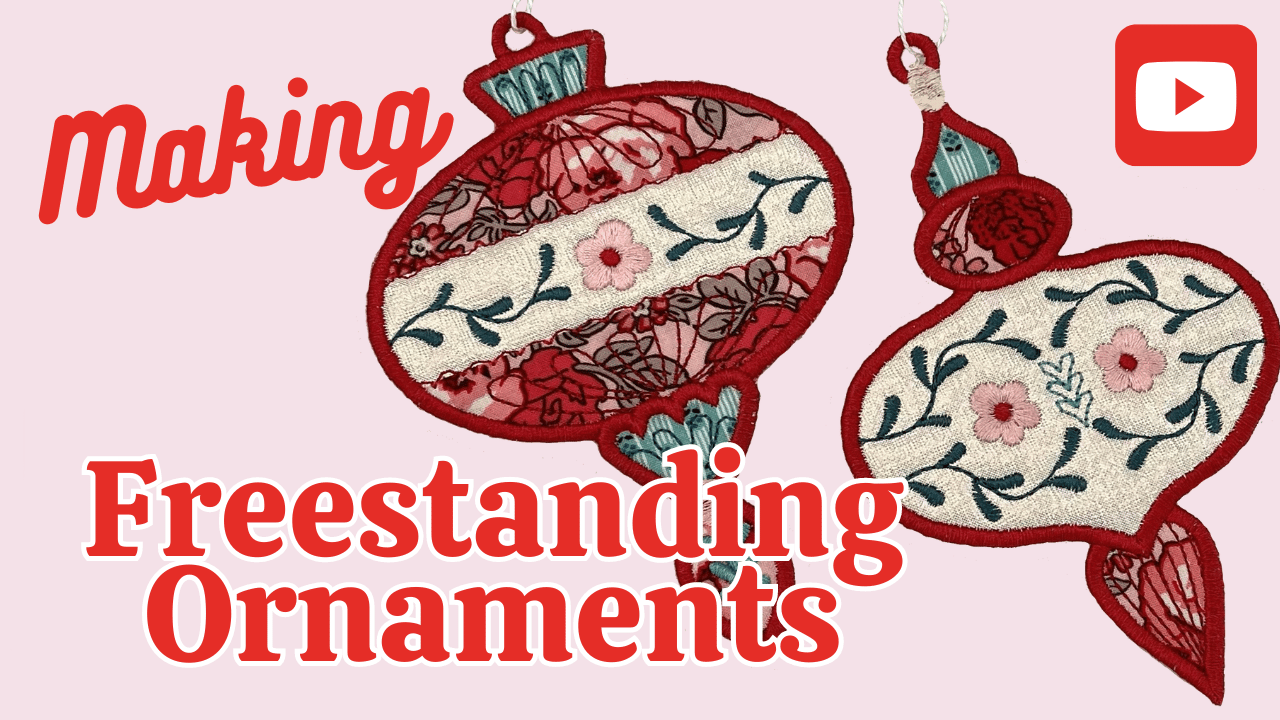
In this Sweet Pea Studio video, we provide a step-by-step overview of the process involved in designing and creating freestanding Christmas ornaments on your embroidery machine. Whether you're a seasoned crafter or a beginner, this guide offers clear, structured insights into each phase, ensuring your holiday decorations are both personalised and professionally finished!
1. Preparation of Materials and Design Loading
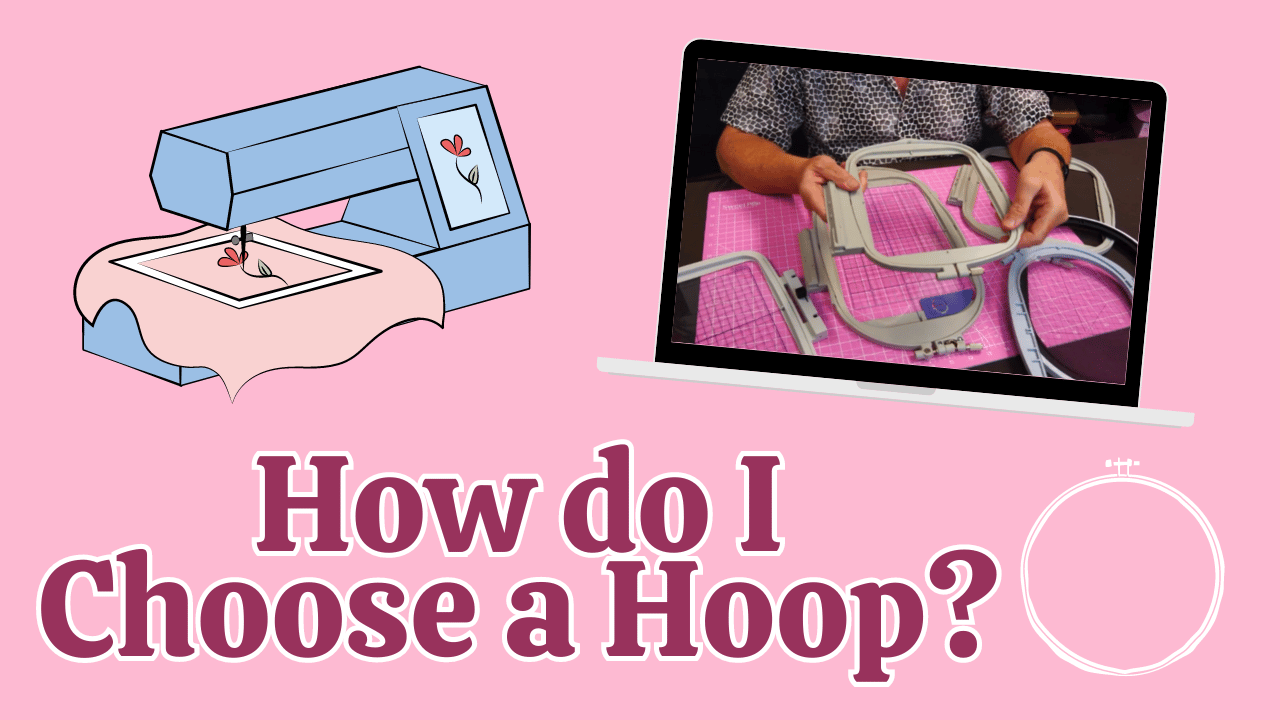
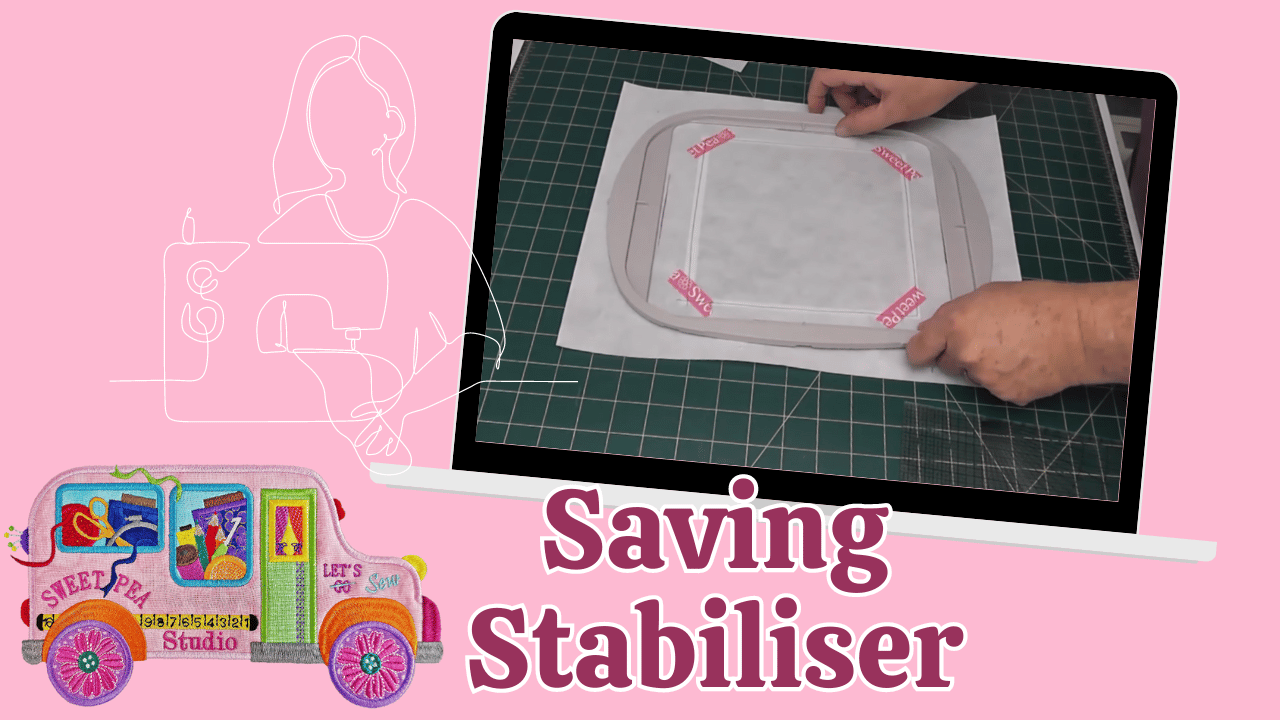
Begin by transferring your chosen embroidery design onto your machine, then hoop multiple layers of soluble stabiliser. Ensure the stabiliser is taut and securely hooped to prevent puckering during stitching.
2. Stitching placement lines and adding batting
Stitch the initial placing line for the ornament's batting. Place batting (preferably a soft, fusible type) on top of the hoop, aligning it within the placement line, then stitch the batting down to fix it in place. Remove the hoop from the machine and trim the batting about 1-2 millimeters from the stitching line to ensure a neat finish.
3. Applying fabric for different sections
The ornament we are using in our example comprises multiple sections: the point, middle, top, and oval. Each section involves a similar applique process:
| Section | Fabric Type | Process |
| Point | Small fabric piece | Place fabric over the placement line Stitch down Remove hoop and trim fabric 1-2 mm from stitching |
| Middle | Fabric A | Repeat applique process Remove hoop and trim Ensure fabric covers the section fully |
| Top | Small fabric piece | Repeat applique Trim fabric. Leave fabric in seams. |
| Oval | Small fabric piece |
Repeat applique. Trim fabric |
Repeat these steps for each section, ensuring precise trimming for a clean appearance.
4. Embroidery
Embroider the design as per your instructions, ensuring alignment and thread tension are correct. Complete the ornament with a satin stitch around the edges, matching bottom thread to top thread for a seamless look. Pay special attention to the circle at the top of the ornament, ensuring thread colour consistency.
5. Assembly
Carefully remove the hoop from the machine. Turn the hoop over, exposing the back, and trim any loose threads and excess stabiliser. Place cutaway stabilizer or fabric right side up on the back, covering all stitching, and tape it securely. Return the hoop to the machine and stitch down the backing, ensuring it adheres smoothly.
6. Trimming and cleaning
Trim all fabric and stabilizer about 1-2 mm from the stitching line on the back. Dissolve the soluble stabiliser in water, either by soaking in a bowl or using a washing machine on a cold cycle with a colour catcher to prevent dye transfer. Then allow the ornament to dry completely, ensuring no stickiness remains.
7. Adding a loop
Thread a ribbon or string through the holes at the top of the ornament then tie a knot or bow to form a loop suitable for hanging on a Christmas tree!
Your freestanding ornament is complete!

By following these detailed steps, you can produce beautiful, professional-looking decorations that add warmth and charm to your holiday celebrations. Happy crafting from the Sweet Pea Studio!
Leave a comment
This site is protected by hCaptcha and the hCaptcha Privacy Policy and Terms of Service apply.