Join us in this quilting and binding tutorial with Martyn and Alyssa. The process involves preparing the backing, securing layers, trimming, folding, mitering corners, making hanging loops, and finishing the binding with precision. Whether you're a beginner or experienced quilter, this guide offers valuable insights to ensure your project is both durable and aesthetically pleasing.
1. Preparing the Backing and Layers
Ensure adequate margin by maintaining at least 1 ¾ inches of extra fabric around all sides of the backing to facilitate self-binding.
Pin all layers together to prevent shifting during sewing. Use sharp pins or clips for better hold.
Sew across the panels in the seam's ditch to secure layers. This stitching stabilises the quilt and prevents puckering.
Sew through all layers to attach the lining to the quilt's edge, ensuring the backing stays in place during washing or use.
2. Securing Seams and Trimming Edges
Open the seam allowances to reduce bulk and facilitate smooth folding. Use a rotary cutter to trim excess fabric to *1 ¾ inches* from the edge.
Fold the trimmed edge toward the border, aligning it with the batting. Press carefully to ensure even folds, which simplifies subsequent stitching.
3. Creating Mitered Corners
Fold the corner at a 45-degree angle using the point of an all-purpose tool or hand pick to turn corners neatly.
Achieving a Perfect Miter:
- Sew up to the point, pivot, then sew down the other side.
- This results in a clean, professional mitered corner.
4. Making and Attaching Hangers
Cut 5x5 inch squares for each hanger.
Fold half an inch on each side, then fold in half again. Edge stitch along the top to secure.
Place hangers 2 inches in from the quilt edge. Attach them to the top of the quilt, catching them in the binding seam for support.
Press the hangers into position. Lightly stitch within the seam allowance to prevent shifting.
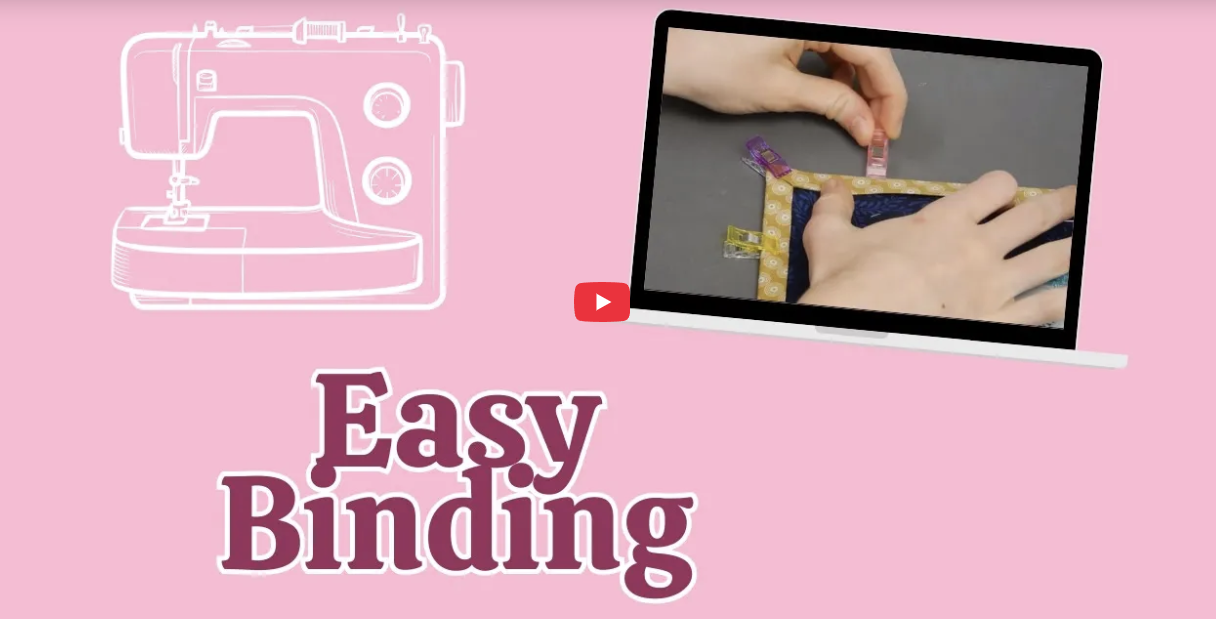
5. Finishing the Binding
Iron the binding to the batting, then fold over the seam to the back. Fold the binding over the edge, pressing carefully for evenness. Use basting stitches or hand stitches to secure the binding in place.
Stitching the Edges:
Start at a lower corner, typically the bottom or side, avoiding the top for better control. Sew close to the folded edge (a few millimeters in) to create a neat finish.
Mitered Corners in Binding:
Sew up to the corner, pivot, then sew down the other side, creating a crisp miter.
6. Final Touches and Quality Checks
Lightly press the finished edges and binding for a crisp appearance.
For hanging, hand sew or catch the hangers in the seam for added support.
Check all seams, corners, and edges for evenness and security before final use.
Creating a beautifully finished quilt requires patience, attention to detail, and the right tools. By following these steps, you ensure your quilt is both durable and visually appealing. Remember, taking your time with pressing and alignment makes a significant difference in the final look.
Thank you for joining us at Sweet Pea Studio and happy quilting!
Leave a comment
This site is protected by hCaptcha and the hCaptcha Privacy Policy and Terms of Service apply.