
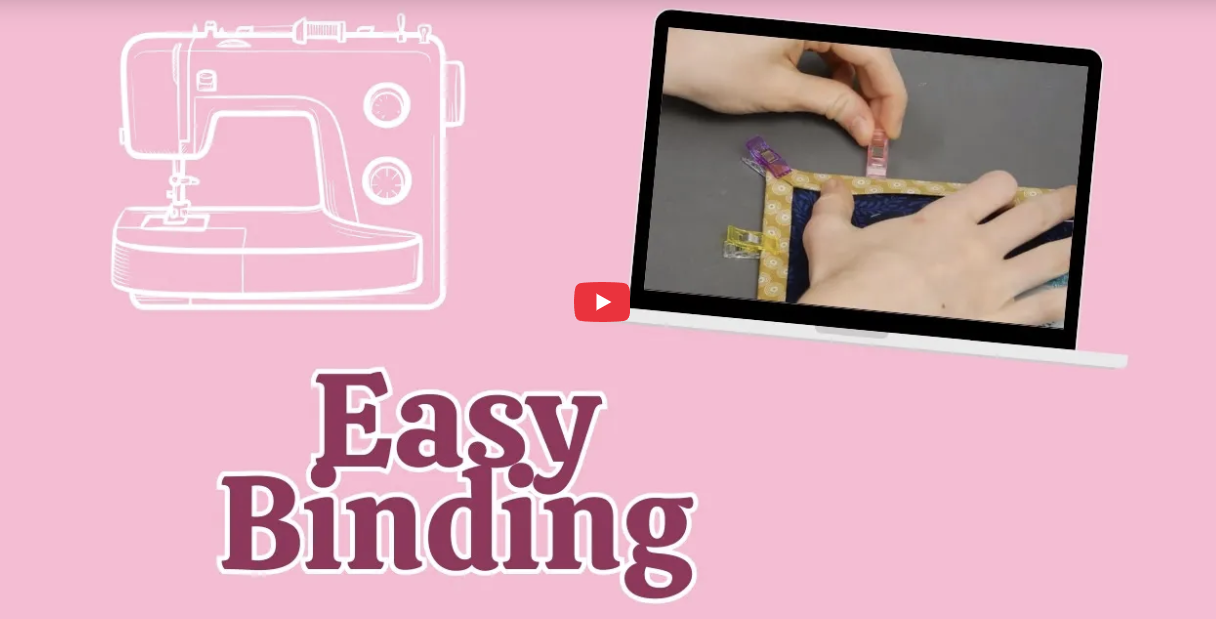
This detailed guide explains a straightforward method to QAYG, creating a quilt using simple sashing. The technique emphasises precision, seam allowances, and neat finishing, making it accessible for quilters of various skill levels.
1. Preparing the Sashing Strips
- Cut sashing strips to the correct length, ensuring they match the block dimensions to prevent warping.
- For a finished width of 1 inch, cut strips at 2 1/4 inches.
- Use perimeter lines of the blocks as guides for stitching.
2. Attaching Sashing to Blocks
- Place the sashing strip right sides together with the block edge.
- Flip the work over, aligning the perimeter line of the block as a stitching guide.
- Stitch along the left side of the perimeter line, maintaining seam allowances.
- Trim threads and verify no stitches are visible on the right side.
3. Ensuring Consistency and Accuracy
- Repeat the process for both short and long strips.
- Pin the sashing strips to the blocks, ensuring they are correctly sized to avoid warping.
- When joining blocks horizontally, ensure vertical and horizontal strips are equal in length for a square, aligned appearance.
4. Seaming and Pressing
- Use back tacking at the start and end of seams for durability.
- Press seam allowances flat, pressing toward the sashing to reduce bulk.
- Confirm that seam allowances stay flat and button to the middle, avoiding gaps.
5. Creating the Backing with Folded Sashing
- Prepare a folded strip of sashing, stitched similarly to the front.
- Join the folded strip to the back of the block, stitching from the right side.
- Use the original stitching line as a guide, with raw edges aligned.
- Lightly finger press the folded edge, trimming it to about 3 millimeters past the stitching line for a clean finish.
6. Securing the Folded Edges
- Use pins or glue to hold the folded edge in place.
- Stitch in the ditch (along the seam line) from the right side, catching the folded edge.
- For visibility, a plain white thread is used, but monofilament can be employed for a more seamless look.
7. Stitching in the Ditch
- Stitch close to the seam on the front, ensuring the folded edge is caught.
- Use your fingernail to feel the ridge of the folded edge, confirming it’s secured.
- Remove pins carefully, checking that no gaps remain.
This simple sashing method offers a clean, professional finish for quilt projects. By following these steps, you can create beautifully structured quilts with consistent seams and polished edges. Thanks for joining us at Sweet Pea Studios and happy quilting!

Leave a comment
This site is protected by hCaptcha and the hCaptcha Privacy Policy and Terms of Service apply.