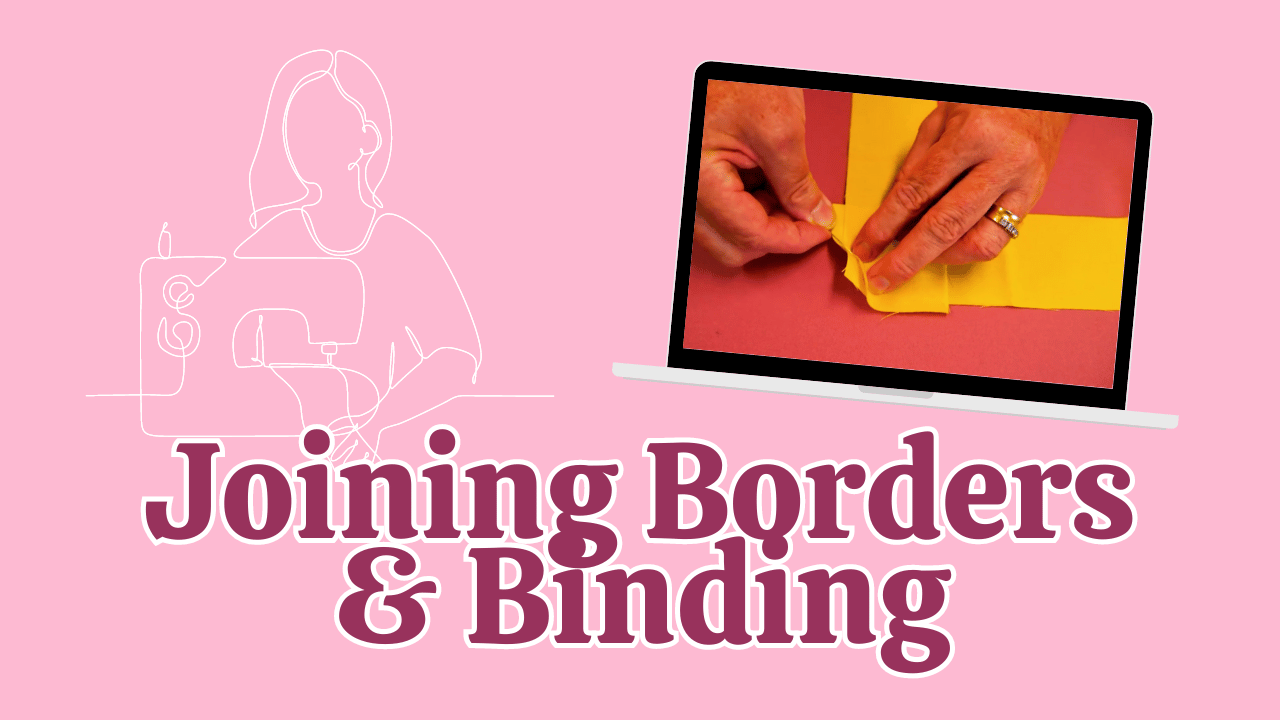
In quilting, joining two pieces of fabric seamlessly is essential for creating smooth borders and bindings. This process often involves making a diagonal or bias join rather than a simple straight seam, ensuring the finished edge is even and free of bulky lumps. This video and summary explains the step-by-step method to achieve a professional, angled fabric join with Martyn.
Why Use a Diagonal Join?
A diagonal join helps in several ways. It prevents bulky seams at the border's edge, distributes the fabric's weight evenly, and ensures a smooth, continuous border or binding.
Materials Needed:
- Two fabric strips
- Pins or clips
- Chalk or fabric marker
- Cutting mat and rotary cutter
- Ironing and pressing surface
Step-by-Step Process:
1. Place right sides together and form a 90° angle with the strips, with a slight overhang (quarter inch) on both ends.
2. Use a chalk marker to draw a line from one corner to the opposite corner, creating a 45° angle.
3. Secure the fabric with pins or clips to ensure the edges stay aligned during stitching.
4. Sew from start to end to maintain a consistent seam allowance, typically ¼ inch.
5. Cut excess fabric, trimming the seam allowance to reduce bulk, usually to ¼ or ½ inch.
6. Press the seam open for a flat, smooth finish.
Key Tips
- Use a quarter-inch seam allowance for accuracy
- Mark the diagonal line clearly for precise stitching
- Press seams open to avoid puckering and lumps
- Always trim excess fabric to prevent bulk
Achieving a perfect diagonal join enhances the overall appearance of your quilt or border. Remember to always mark clearly and pin securely before sewing, use a sharp rotary cutter for precise trimming, and press seams flat for a neat finish. You can practice on scrap fabric to perfect your technique.
By mastering this method, you ensure your borders and bindings are professional-looking, with evenly distributed fabric and no bulky seams. Thank you for joining us at Sweet Pea Studio—happy quilting!

Leave a comment
This site is protected by hCaptcha and the hCaptcha Privacy Policy and Terms of Service apply.