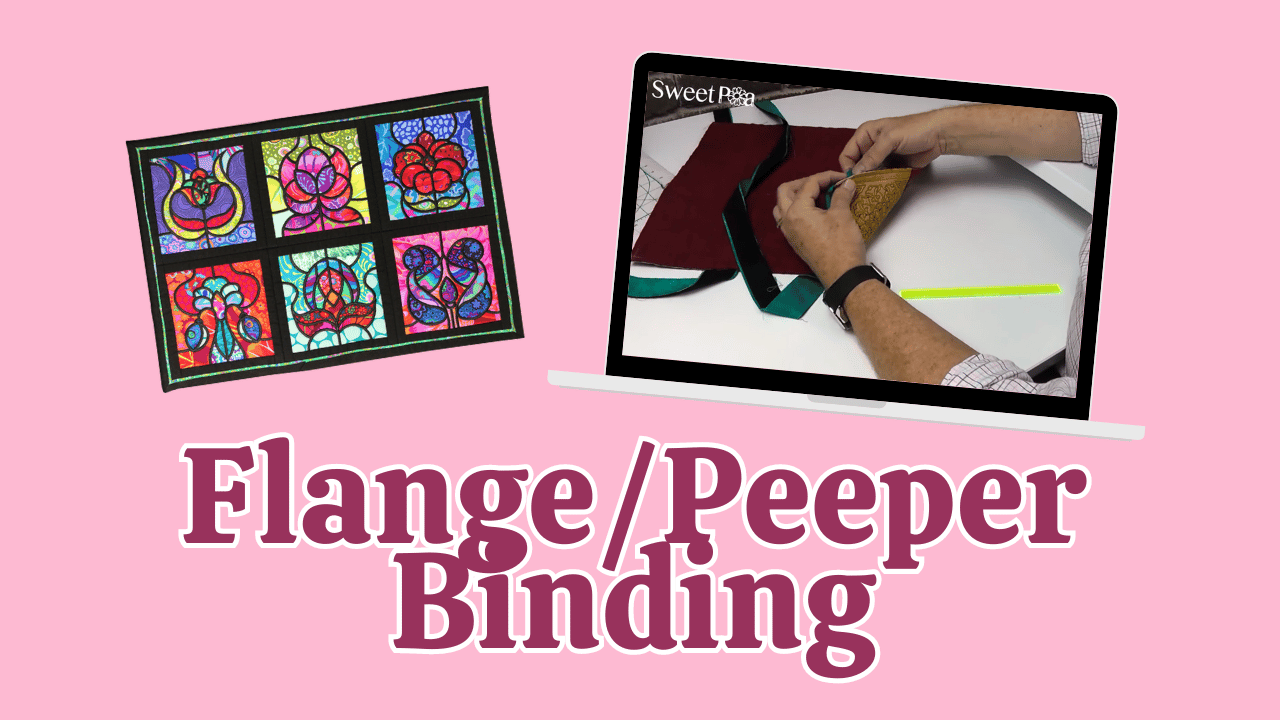
This detailed guide explores the art of creating and applying peeper piping (also known as flange binding) around the edges of a quilt. This method not only adds a pop of color and dimension but also offers a less bulky, more refined finish. The following summary distills the key steps, tools, tips, and techniques from the instructional video by Martyn.
1. Preparation of Binding Strips
Cutting Strips:
- Peeper (binding strips): Cut at 1.5 inches wide.
- Top fabric (binding color): Cut at 1.25 inches wide.
Sew strips together to form a continuous length, adding at least 10 inches for excess and corner joins.
2. Sewing the Binding Strips
Place the paper-colored side (base) down. Position the edge binding color on top.
Sew along the outside edge at 1/4 inch seam. The wider strip (1.5 inches) will form the peeper flange, peeking out from the edge.
Iron the seam toward the outside binding color. Fold the strip width-wise and press firmly to keep the peeper even.
3. Marking and Preparing for Corner Turns
Mark quarter-inch in on each corner on the wrong side. Use chalk or markings on the machine's presser foot for accuracy.
These marks serve as pivot points for turning corners smoothly.
4. Attaching the Binding to the Quilt
Sew the binding from the back with the paper side up. Start midway along a side, leaving 6 inches of free binding.
Sewing:
- Use a quarter-inch seam.
- Sew to the corner mark, then pivot.
- Do not reverse; simply pivot and continue.
Corner Handling:
- Fold the corner at 45 degrees.
- Press the fold away from the seam.
- Sew to the next corner, maintaining the quarter-inch seam.
5. Creating the Mitered Corners
Leave 5-6 inches of excess at the start. Trim the seam to the width of the open binding. Open the binding and trim diagonally to create a clean miter.
Mark a diagonal line from corner to corner. Sew along this line, then press open.
Use steam and move the seam to the outside edge. Poke out corners for sharp, crisp points.
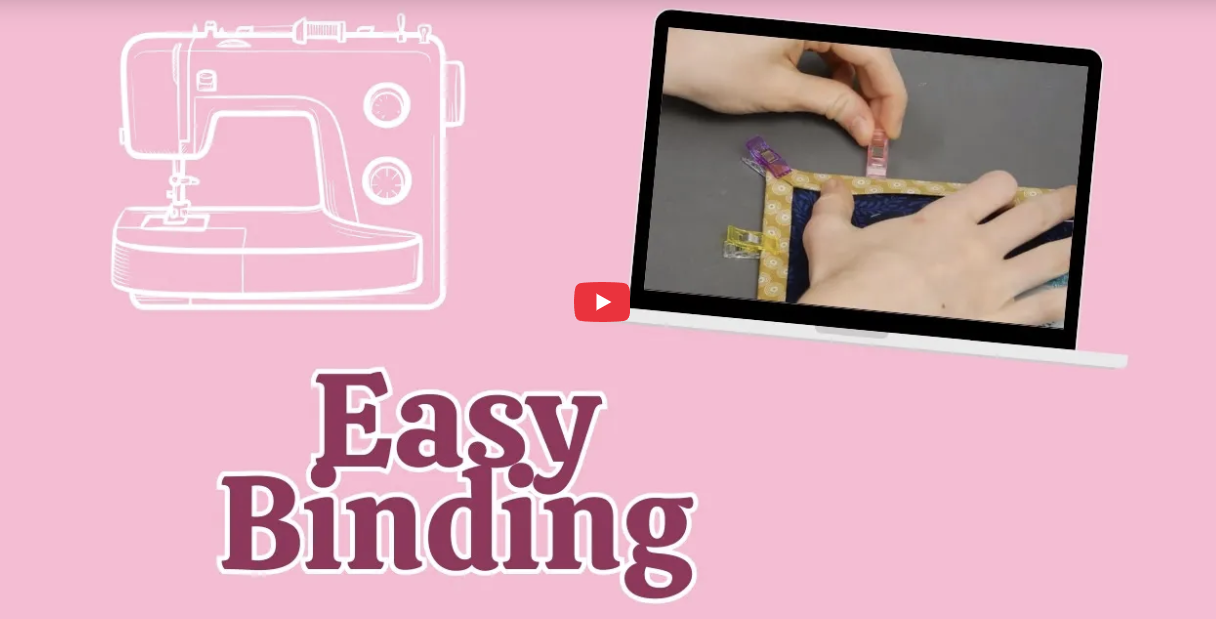
6. Finishing the Binding Edge
Fold the binding up and over the raw edge. Press to form a 45-degree angle at the top edge.
Use clips or pins to secure the folded binding.
Sew close to the edge of the binding on the back side. Optionally, stitch in the ditch for a cleaner finish.
Invisible Join:
- For seamless appearance, join the strips with a diagonal seam.
- Trim excess and press the seam open.
- Press the binding flat, ensuring the seam is on the outside.
7. Final Pressing and Corner Detailing
Use steam to set the seam. Press the seam toward the outside.
Poke out the corners for sharpness. Work the corners with your fingers or a tool for a flat, professional look.
8. Securing the Binding
Secure the binding with clips or pins.
Sew close to the edge on the front side. Use matching thread for a seamless look.
Key Tips:
- Maintain even peeper width for a consistent flange.
- Mark corners carefully to ensure sharp, accurate miters.
- Use steam generously to set seams and corners.
- Work slowly around corners for precision.
- Check alignment frequently during sewing.
Creating a professional-looking binding elevates the aesthetic of any quilt, especially those with intricate or delicate designs like stained glass windows. This technique combines precision sewing, careful pressing, and thoughtful finishing to produce a seamless, dimensional edge that adds visual interest and durability.
Thank you for exploring this detailed guide. Happy quilting!

Leave a comment
This site is protected by hCaptcha and the hCaptcha Privacy Policy and Terms of Service apply.