
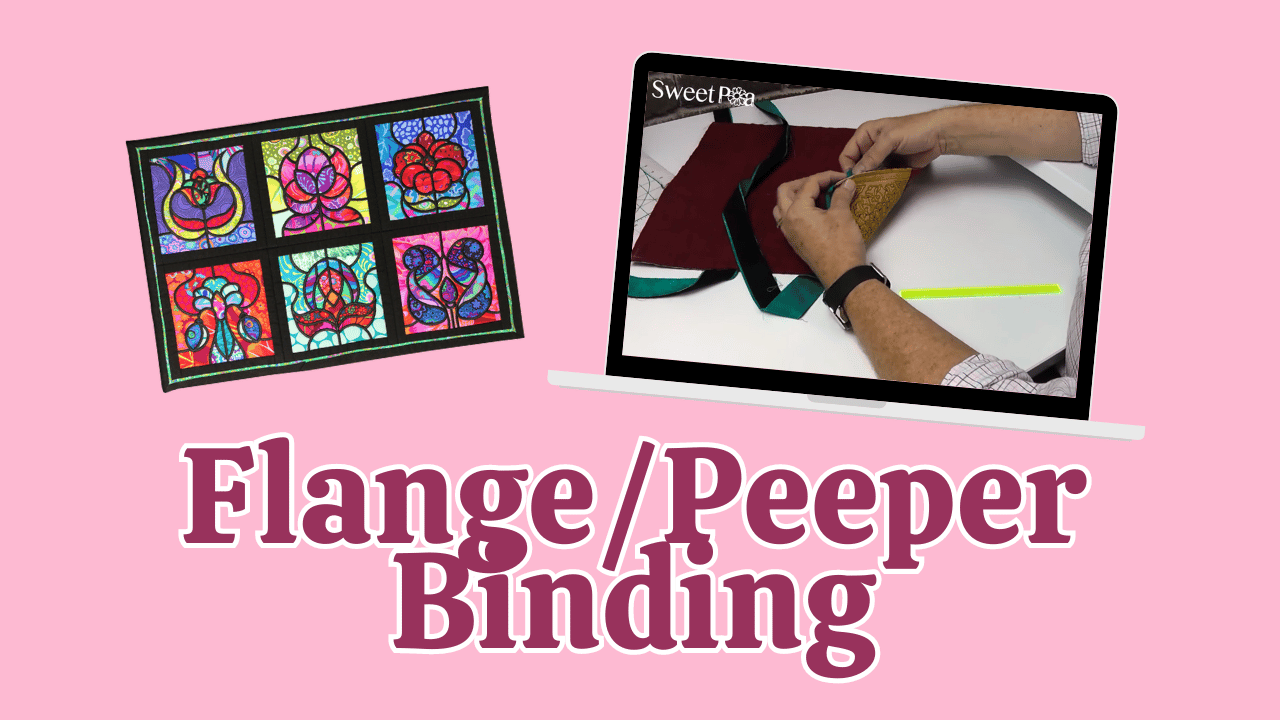
This detailed video and guide explains the process of preparing fabric straps with interfacing for an embroidered tote with our Educator and Creative Design Technician, Martyn.
Step-by-Step Process
1. Adding Interfacing for Structure
Give the fabric more depth and rigidity, facilitating easier folding and stitching, by adding interfacing.
Cut a piece of interfacing matching the size of the strap, press from the right side of the fabric to prevent sticking to the iron's bottom, then use moderate heat and light pressure, avoiding prolonged contact to prevent damage.
2. Preparing the Strap
Fold the fabric into four layers to find the center. Fold the strip widthwise, creating a crease down the middle with an iron.
Fold one raw edge to the center crease, aligning carefully. Fold the remaining raw edge to meet the first fold, ensuring both edges touch in the middle. The crease line should be centered to keep the folds symmetrical.
3. Stitching the Edges
Use a straight stitch (lengthened to 3–3.5 mm). Stitch both folded edges together, 1/8 inch from the edge.
For stability, pin or quilt clip if needed; however, interfacing helps keep the fabric in place.
4. Thread and Stitching Details
Use double reels of thread for a thicker, more durable stitch, matching thread color to fabric for a seamless look.
Stitch along the edge, keeping the seam straight.
This process results in a professional, sturdy strap suitable for bag handles or totes. Proper interfacing application and precise stitching ensure durability and a clean appearance. The techniques shared here can be adapted for various projects, elevating your sewing craftsmanship.
Thank you for joining us at Sweet Pea Studio and happy sewing!
Leave a comment
This site is protected by hCaptcha and the hCaptcha Privacy Policy and Terms of Service apply.