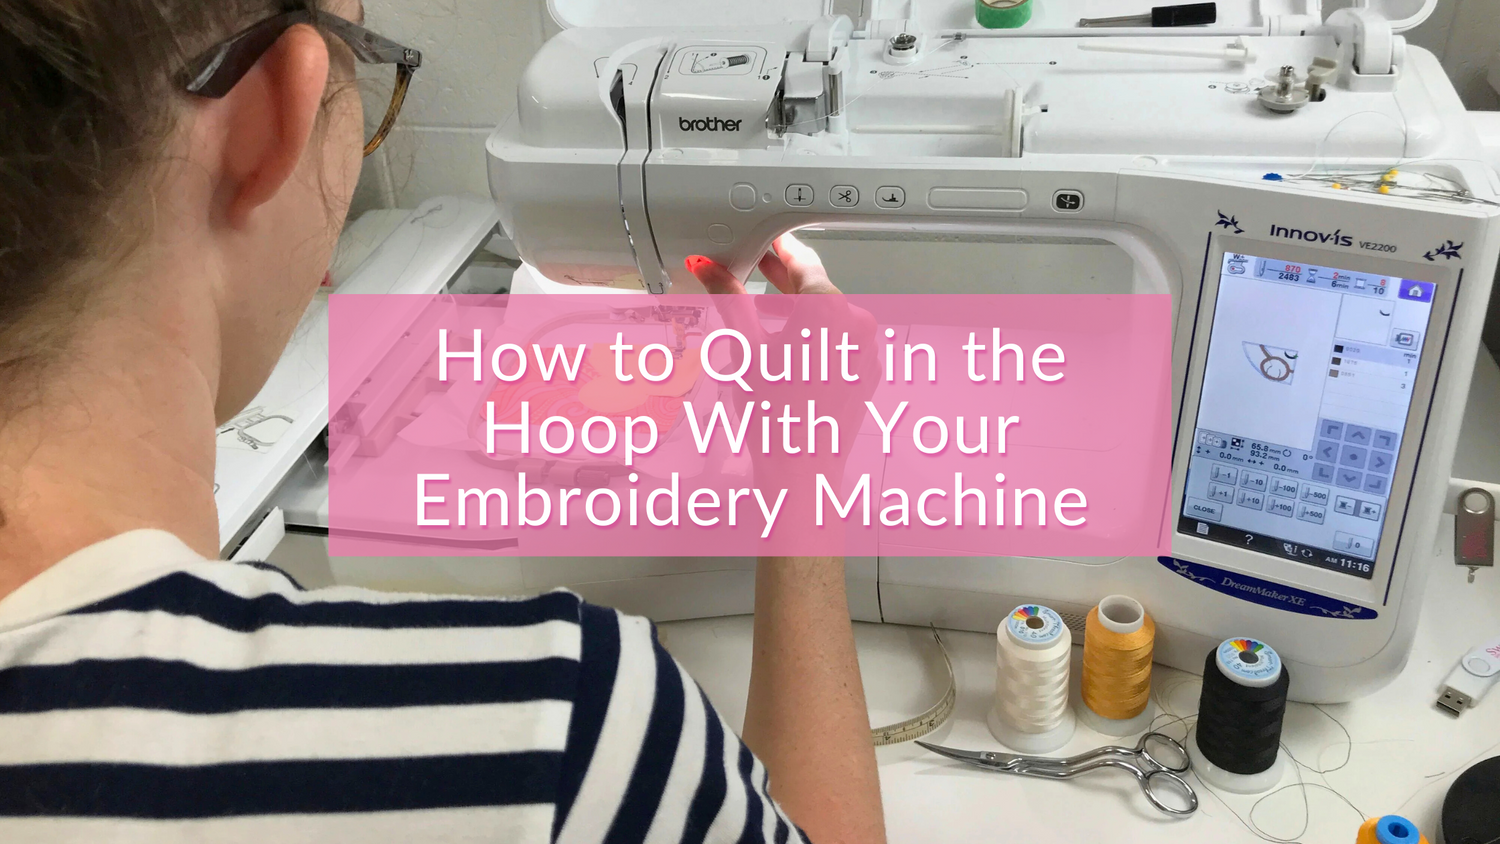
Did you know over a third of quilters own an embroidery machine, and about one-third also do embroidery on quilt tops? Your embroidery machine can now do much more than just embroidering.

With our 'in the hoop' quilt designs you can easily piece blocks, embellish them with embroidery and even quilt them right in the hoop!
Here is how simple it is to make your own beautiful quilt that will WOW your friends and family
1. Hoop a stabiliser like No-Show Mesh for the base of your 'in the hoop' embroidered quilt block .
2. Load the quilt design onto your embroidery machine

How to download the files and load onto your machine
3. Stitch down the batting - this is done automatically by your embroidery machine at the push of a button.

We recommend that after this step that you trim the batting so no batting is in the seam, making the blocks easier to join later.

Remove the hoop from your machine and trim the batting about 1-2mm from the stitching. LEAVE YOUR WORK IN THE HOOP WHILE YOU DO THIS .
4. The next step stitches the block fabric down onto the batting and stabiliser. Once again this is done automatically at the press of a button.
5. Now the FUN part begins!
This is the part where the applique and decorative stitching is done
- machine will stitch a placement line for the applique
- lay applique fabric over placement line making sure the line is covered.
- stitch down the applique fabric
- trim the applique fabric as close as you can to the stitching line
- machine will then stitch all the quilting, satin stitching and decorative stitching
The above steps are all done automatically by the machine. The machine will automatically stop when there is something you need to do like change thread colour or add more applique. You just follow along with the instructions that we provide.
After you have made the all the quilt blocks you make the border and corner blocks in exactly the same way.
6. Assembly of the quilt
Now that you have made all the quilt blocks on your embroidery machine it is now time to assemble your quilt. We also provide all the instructions you need to sew the blocks together, add the binding and the backing with stitching in the ditch.

Introducing the Designer Cathedral Windows Quilt ITH design. The finished sizes can be completely dependent on how many blocks you use and the borders you add. Each block is made individually in the hoop. You could completely change the look of this quilt by changing the fabric. We used the Bird Pond range from Tilda to achieve our look! Full photo instructions and directions are included with your purchase. It is our intention to offer you the best service always and for our designs to be the highest quality in the market.


Leave a comment
All comments are moderated before being published.
This site is protected by hCaptcha and the hCaptcha Privacy Policy and Terms of Service apply.