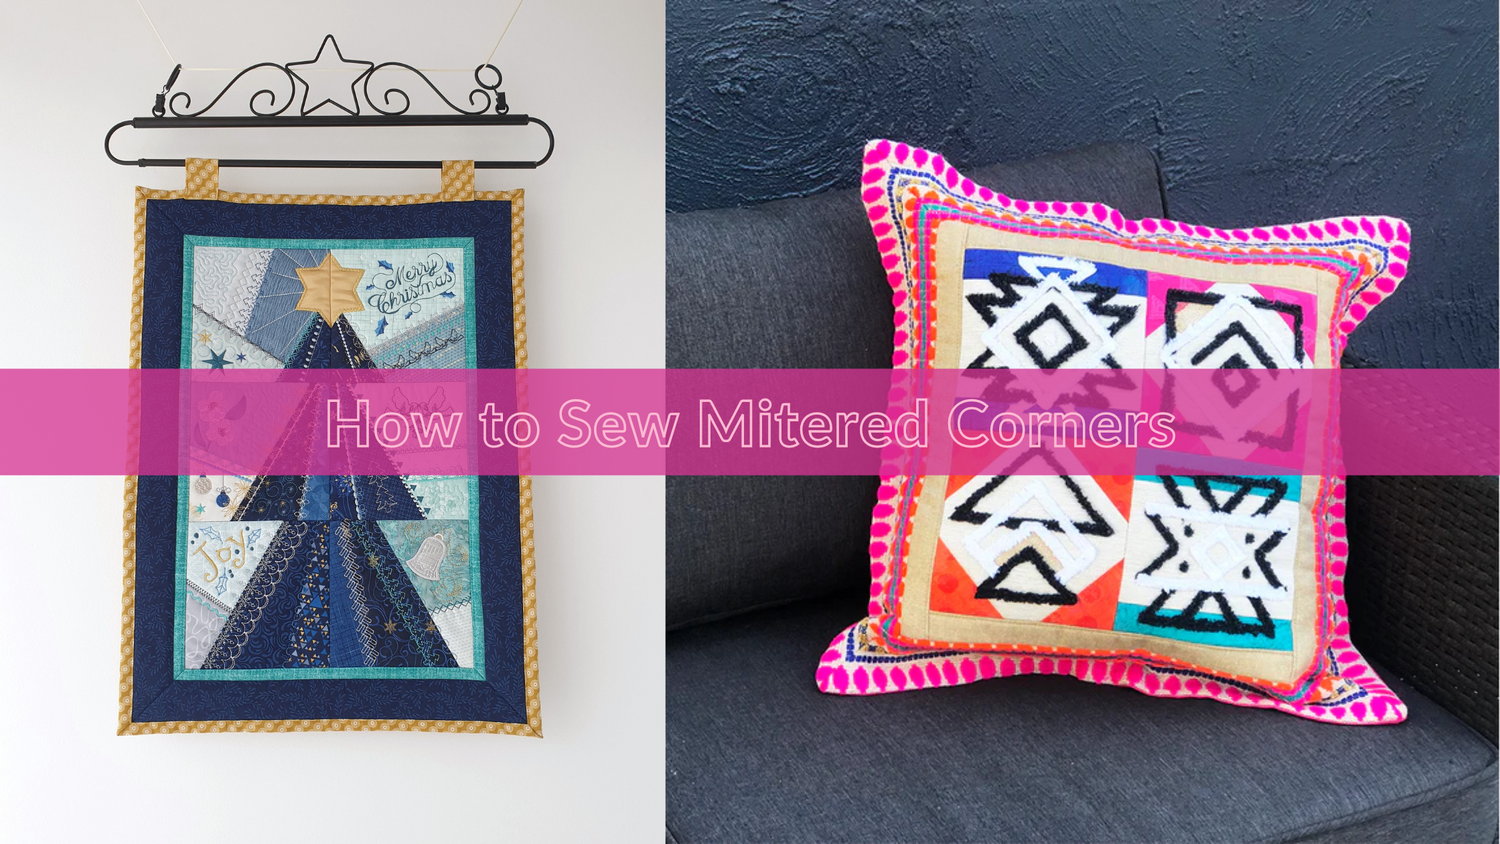
A mitered corner is quite a simple technique, however, you will need to practise this a couple of times to really master it!
We have recently finished our Patchwork Christmas Tree for our November Sew-Along Facebook Group using this brilliant technique.
Don't be scared. It's great fun once you have a handle on it.
When finishing a project, the multiple folds along each edge layer up on top of each other and create a small mountain of fabric at the corner. Mitered corners reduce these bulky corners, allow the edges to meet neatly and gives your project a really professional finish.
- Ensure your cushion is squared up and all edges measure the same length (or the opposing edges measure the same as each other for a rectangle).
- Measure the outside length of your cushion edges.
- Decide the width of border.
- Each border should measure the length of the outer edge it’s being stitched to (including seams) plus twice the depth of each border (including seams). This will give you a little excess to trim off when completing the mitred corner.

For example, if the edge of the cushion is 16” and the depth of the border is 4” we will cut a border length of 24”.
You will end up with 4 pieces of fabric ready for the mitred corner border, with a little extra to spare.
Laying the borders onto the seam allowance and letting the corners overlap will give you the best result as far as calculating the amount of length you need for each side.

Starting with the first corner, find the middle for matching on both the cushion and the border.

Pin the border to the cushion working from the middle out to each end. The end pins should be placed inside the end seam allowance.

Sew the border to the cushion from the underside, so the needle will be just inside the seam allowance stitching from the embroidered blocks. The starting and finishing points for all of the seams should finish exactly on the seam allowance corner point and not go past into the seam allowance. The corner pin in the photo below shows the finishing stitching for one side and the starting point for the next side when creating the corner.

Do the same for all sides.
Once complete, the right side of the work should look like this and the corners should be without puckers or gaps.

With the right side of the work facing up, fold one sewn side onto the other and align the borders so they sit on top of each other.

Pinch the corner point to find the exact corner, lift the corner of the block and pin the borders into position.
Pin down the borders to keep them from moving while marking out mitre for stitching.

With a ruler against the folded edge, mark a line for the corner point for stitching. If you have a striped border, place some pins along this marked line for matching up the stripe when stitching.

The stitching of a mitred corner sometimes requires a couple of attempts to get it absolutely correct and sitting flat. Stitch through the folded seam allowance from the corner point, as this gives the mitre strength and helps keep the point sharp from the right side of the work.

Press open and and check to see that everything is sitting flat and square from the front.

Trim back the seam allowance on the border to ½” and trim off any overhang from the border edges.
We suggest you do this last stage once ALL corners have been completed to ensure the borders are all sitting flat and even.
If you would like to try a few of our designs that include the Mitered Corner technique we recommend our Patchwork Christmas Tree or Aztec Style Chenille Cushion.
We also have a Sweet Pea Studio video tutorial for our Mitered Corners:


Leave a comment
All comments are moderated before being published.
This site is protected by hCaptcha and the hCaptcha Privacy Policy and Terms of Service apply.