
When I saw Seth The Sloth earlier this year, I knew I just had to make one. He’s very cute, isn’t he? It seems I’m not alone in liking sloths: my niece told me her boyfriend is a fan of them so it looks like I’ll have to make him one too!
Fortunately, I had some fur fabric in my stash as well as black and white felt. The fur fabric I used is white and very soft. For Seth’s arms and legs, I used grey polar fleece.
I recently took delivery of a Brother Luminaire XP1 and Seth is the first project I have made on this wonderful new machine. There are two sizes of Seth – 5 x 7 and 6 x 10. I decided to make the larger version.
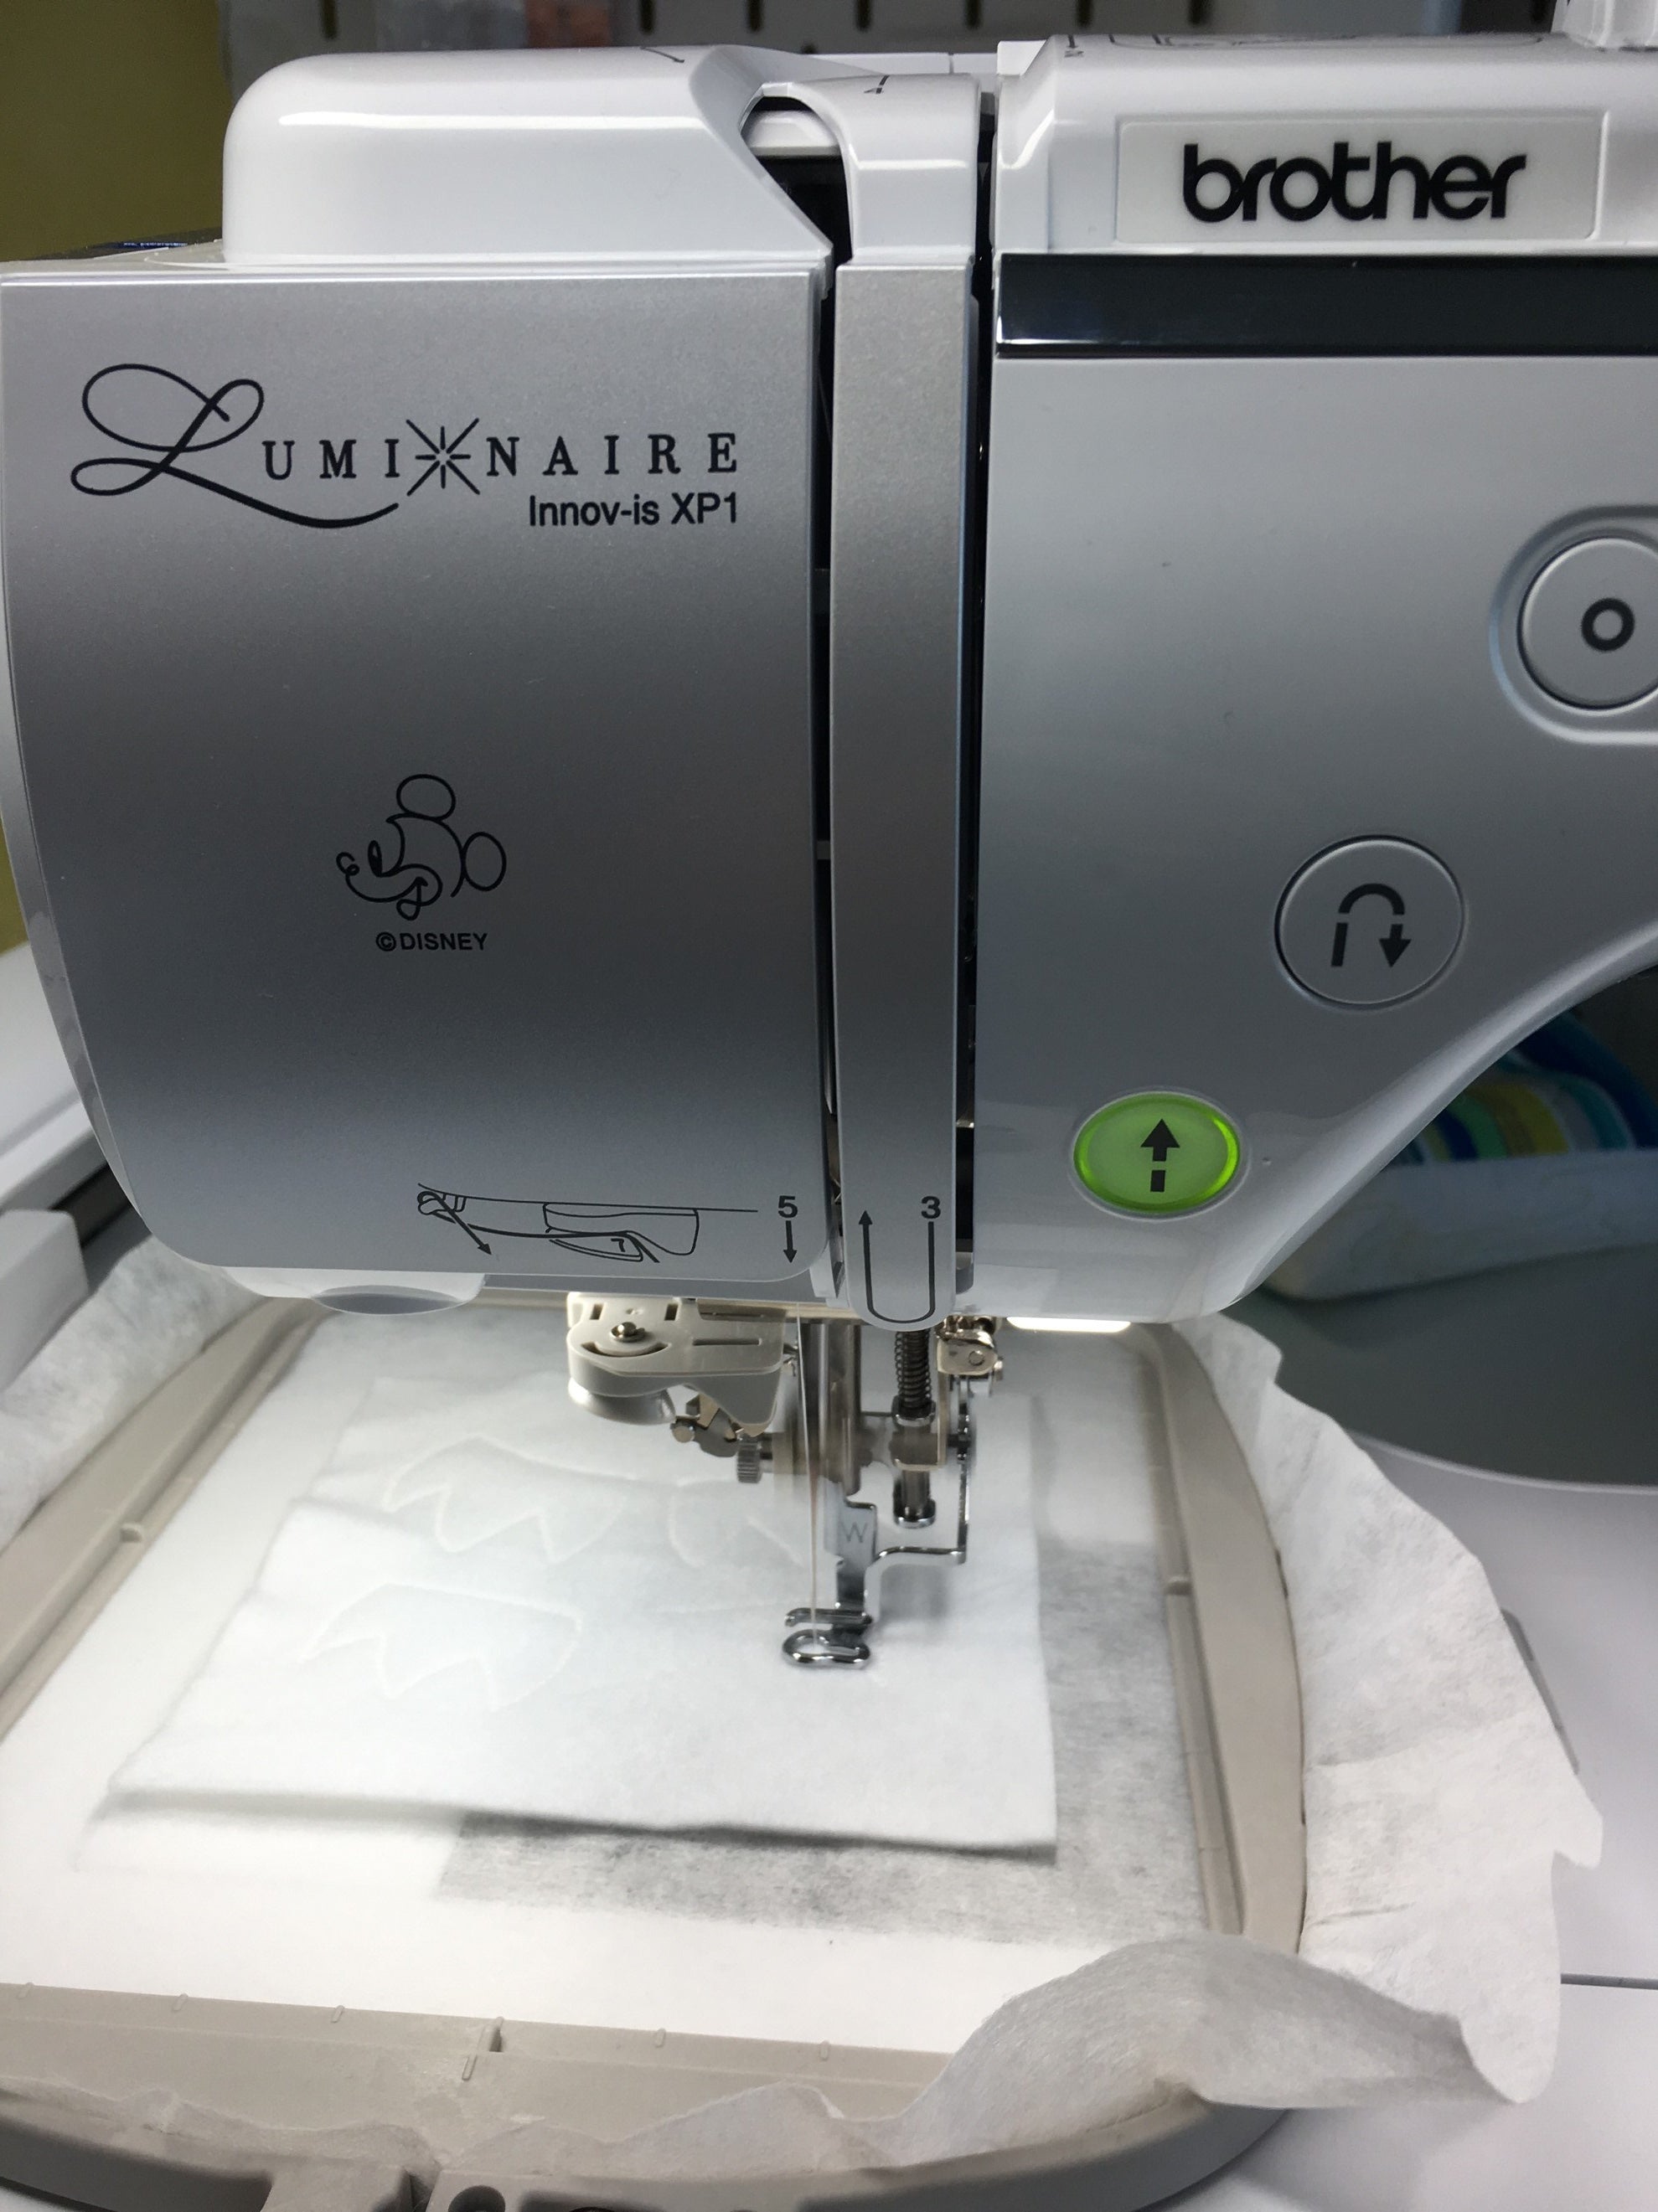
The first parts to make are the claws – I used white felt. To avoid wasting stabiliser I used a 4 x 4 frame.
 Once the claws have stitched out, cut them out and set aside. They will be used when creating the arms and legs.
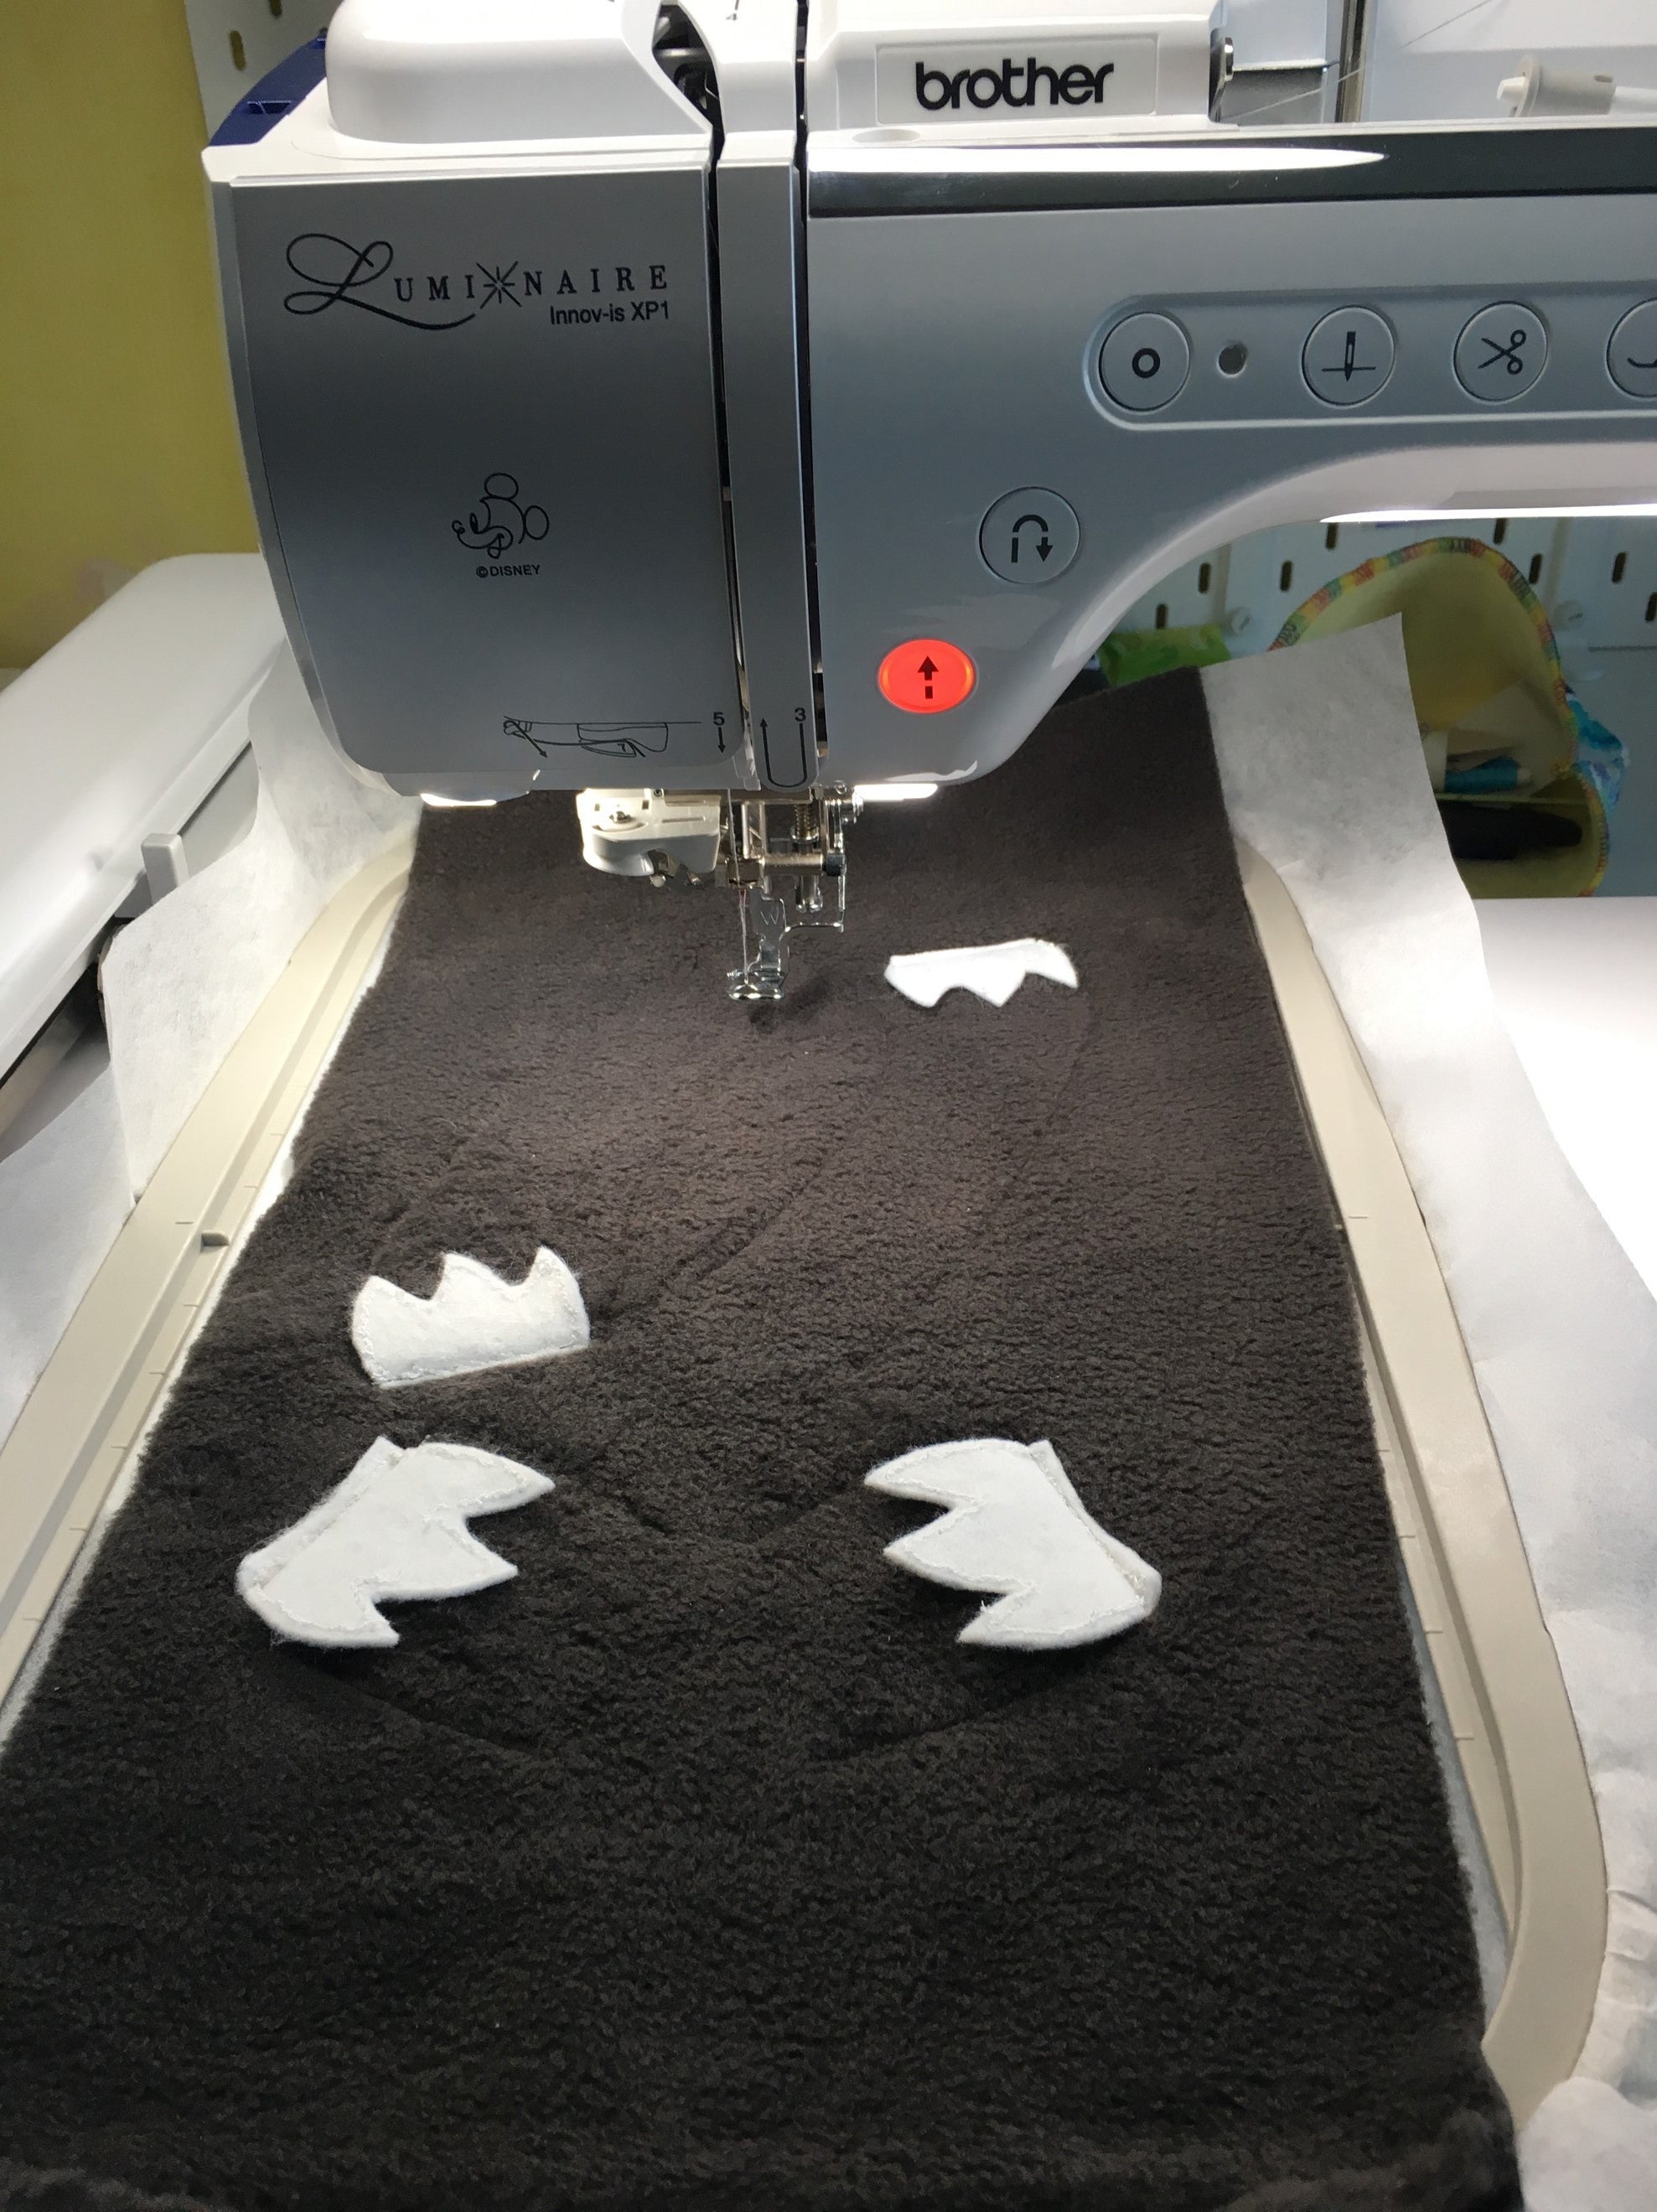
 The arms and legs are made in one hooping. I used grey polar fleece as the fabric has some “body” and is soft. The claws are stitched in place – take not of the size of claw and the orientation. The instructions are clearly written, but it’s easy to make a mistake (!).
 Once cut out and turned through, you can add stuffing if you choose. If you do choose to stuff the arms and legs, make sure you keep it light as otherwise you may run into difficulties later on when assembling Seth.
 As I used polar fleece, I added a very small amount of stuffing.
The fur fabric I used has a “nap”, so it is important to make sure the fabric is placed the correct way up. As advised in the instructions, I added a layer of soluble mesh stabiliser on top of the fur fabric to ensure the embroidery foot didn’t snag on the fur.
As I used polar fleece, I added a very small amount of stuffing.
The fur fabric I used has a “nap”, so it is important to make sure the fabric is placed the correct way up. As advised in the instructions, I added a layer of soluble mesh stabiliser on top of the fur fabric to ensure the embroidery foot didn’t snag on the fur.

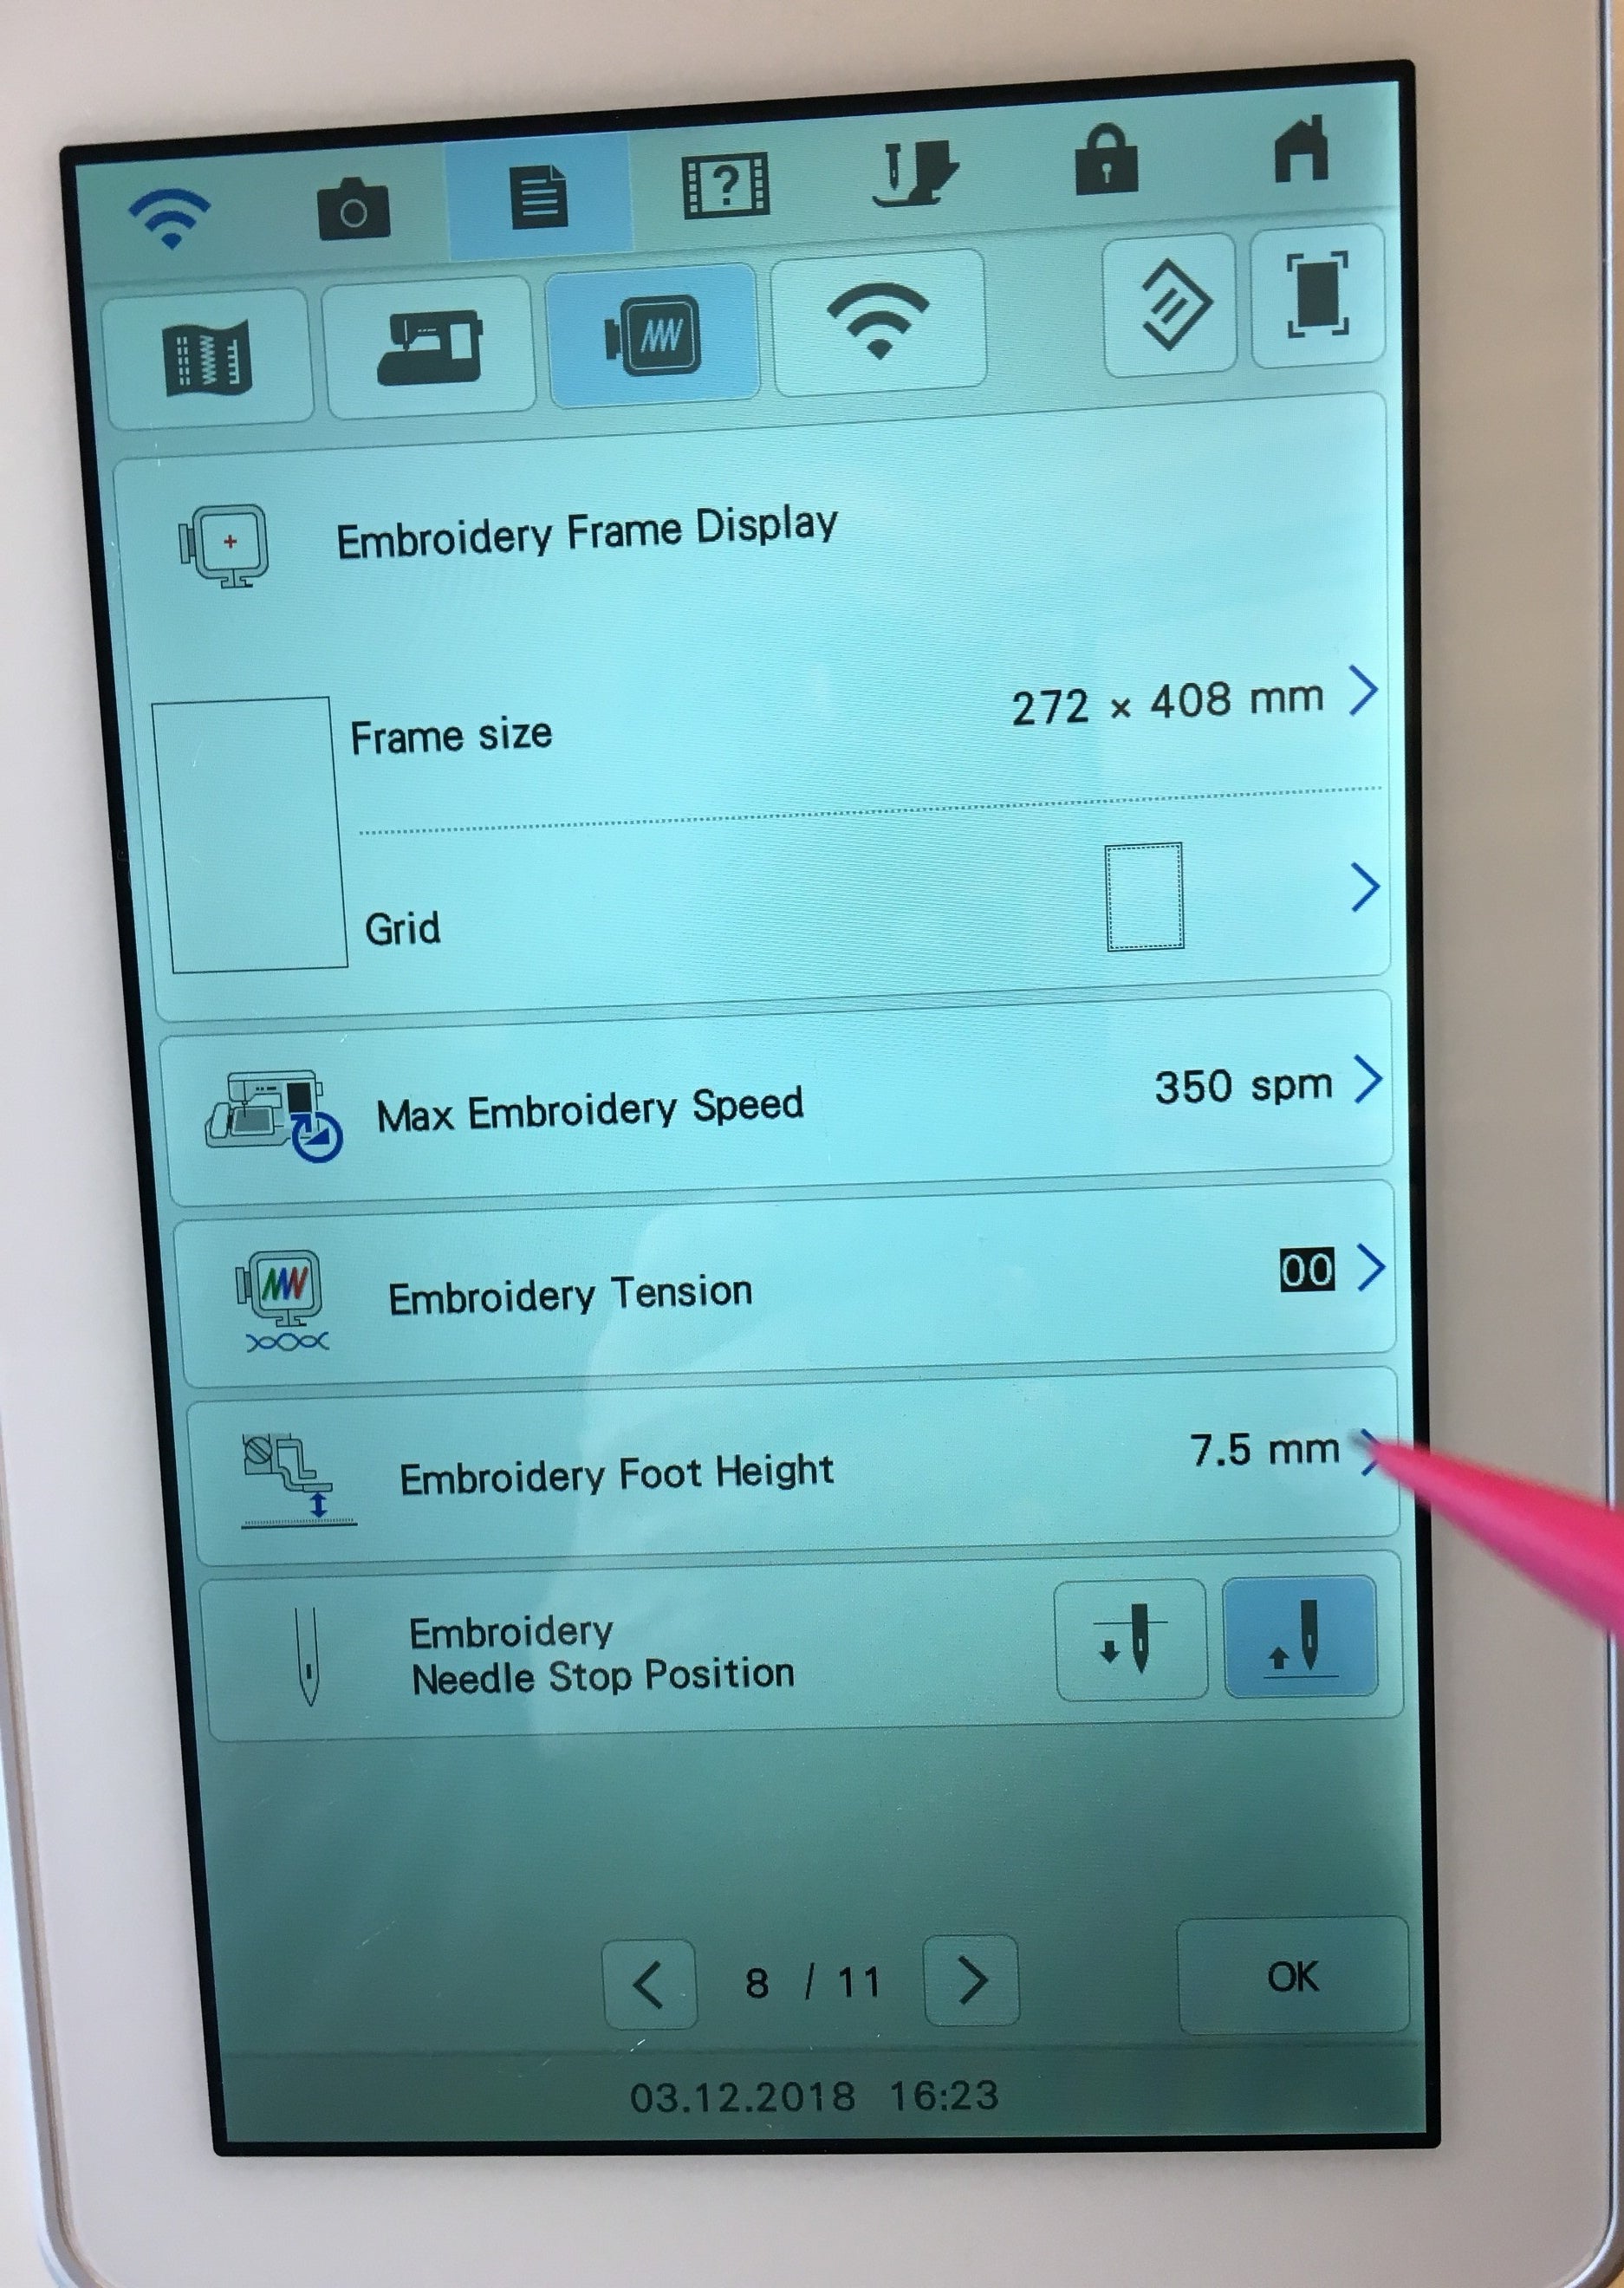
 After the face has been completed, the arms and legs are attached. For this and subsequent steps it is worth slowing down your machine to give you more control (I set mine to its slowest setting of 350 stitches per minute). I also raised the embroidery presser foot height to its maximum setting – on my machine that is 7.5mm.
 I found attaching the arms and legs quite tricky. This is especially so if you over-stuff the limbs. Make sure you tape down well the arms and legs as instructed. If not, you may find the presser foot catches and moves the fabric. Because I used polar fleece, my Seth arms and legs were already quite lofty, which in combination with the fur fabric made it tricky to get under the presser foot, even at its maximum height. With care and the slow speed all was well.

 As you can see from the photo, the final “sandwich” is rather thick, and it can be a little difficult to get under the presser foot. It is important to follow the instructions as the final step is not stitched. It is there to ensure the machine finishes at the seam and does not try to move the middle. As you can see from the photo, the machine would not be able to.
I removed the stabiliser, trimmed back the seams, clipping the curves, before turning through.
As you can see from the photo, the final “sandwich” is rather thick, and it can be a little difficult to get under the presser foot. It is important to follow the instructions as the final step is not stitched. It is there to ensure the machine finishes at the seam and does not try to move the middle. As you can see from the photo, the machine would not be able to.
I removed the stabiliser, trimmed back the seams, clipping the curves, before turning through.
 Once turned through, I dissolved the soluble stabiliser that held down the fur and stuffed Seth’s body.
What a handsome sloth, I hope you agree.
P.S Don’t forget to clean your machine afterwards – I had lots of fur particles left behind - and do change your needle for your next project.
Once turned through, I dissolved the soluble stabiliser that held down the fur and stuffed Seth’s body.
What a handsome sloth, I hope you agree.
P.S Don’t forget to clean your machine afterwards – I had lots of fur particles left behind - and do change your needle for your next project.


Once the claws have stitched out, cut them out and set aside. They will be used when creating the arms and legs.
The arms and legs are made in one hooping. I used grey polar fleece as the fabric has some “body” and is soft. The claws are stitched in place – take not of the size of claw and the orientation. The instructions are clearly written, but it’s easy to make a mistake (!).
Once cut out and turned through, you can add stuffing if you choose. If you do choose to stuff the arms and legs, make sure you keep it light as otherwise you may run into difficulties later on when assembling Seth.
As I used polar fleece, I added a very small amount of stuffing.
The fur fabric I used has a “nap”, so it is important to make sure the fabric is placed the correct way up. As advised in the instructions, I added a layer of soluble mesh stabiliser on top of the fur fabric to ensure the embroidery foot didn’t snag on the fur.
After the face has been completed, the arms and legs are attached. For this and subsequent steps it is worth slowing down your machine to give you more control (I set mine to its slowest setting of 350 stitches per minute). I also raised the embroidery presser foot height to its maximum setting – on my machine that is 7.5mm.
I found attaching the arms and legs quite tricky. This is especially so if you over-stuff the limbs. Make sure you tape down well the arms and legs as instructed. If not, you may find the presser foot catches and moves the fabric. Because I used polar fleece, my Seth arms and legs were already quite lofty, which in combination with the fur fabric made it tricky to get under the presser foot, even at its maximum height. With care and the slow speed all was well.
As you can see from the photo, the final “sandwich” is rather thick, and it can be a little difficult to get under the presser foot. It is important to follow the instructions as the final step is not stitched. It is there to ensure the machine finishes at the seam and does not try to move the middle. As you can see from the photo, the machine would not be able to.
I removed the stabiliser, trimmed back the seams, clipping the curves, before turning through.
Once turned through, I dissolved the soluble stabiliser that held down the fur and stuffed Seth’s body.
What a handsome sloth, I hope you agree.
P.S Don’t forget to clean your machine afterwards – I had lots of fur particles left behind - and do change your needle for your next project.
Click here to see this design on our website
Introducing our cute laid back friend, Seth the Sloth! He can be made in the 5x7 or 6x10 hoop sizes. This is a ITH (in-the-hoop) machine embroidery design. Both sizes are included with your purchase. Very quick and easy to make. Seth requires only three hoopings and only a small amount of hand sewing (~4") or fabric glue to seal the final opening shut. He is great at hanging off trees, giving hugs and being absolutely adorable. Finished Sizes (approx.)- 5x7 –11 cm (width of body) x 22 cm (top of head to bottom of leg claws) (4” x 8.5”)
- 6x10 –13 cm (width of body) x 27 cm (top of head to bottom of leg claws) (5” x 10.5”)
Leave a comment
All comments are moderated before being published.
This site is protected by hCaptcha and the hCaptcha Privacy Policy and Terms of Service apply.