Fussy cutting is a great technique to make the most of the beautiful fabrics you have. It refers to cutting the fabric in a way that specifically highlights a print or design within the fabric. In most cases, fussy cutting is used to highlight a specific part of a print, like a character, but it can also be a great way to create a secondary pattern with the fabric itself.
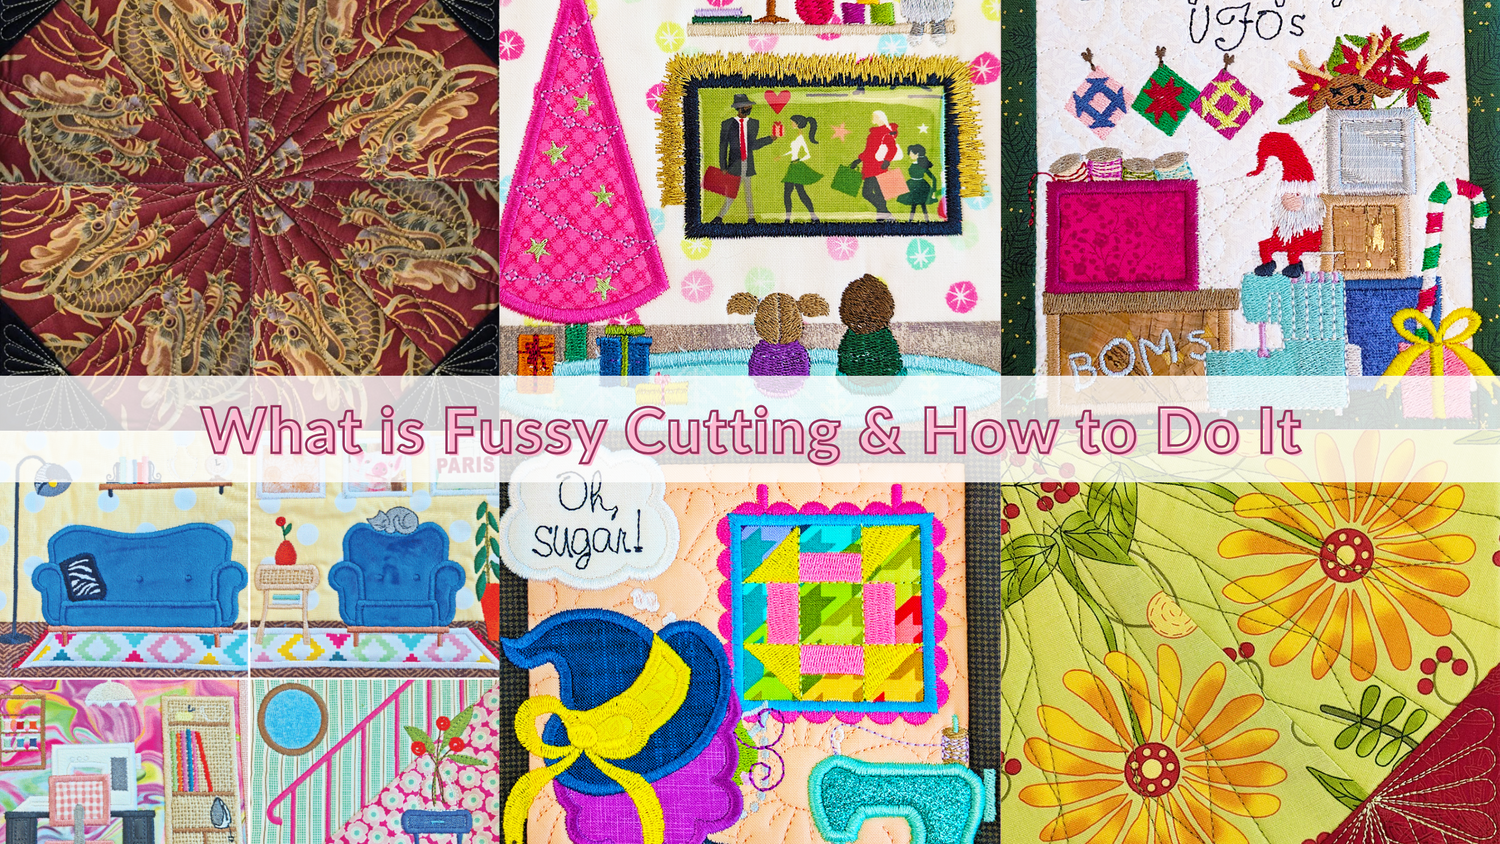
Some of our designs using the first example are the Christmas House Quilt or Dollhouse Quilt (frames and television).


One of our designs using the second example is our Kaleidoscope Quilt Create Your Own Bonus Block. This block was made by our designer, Emma using a dragon fabric.

How to do it
Fussy Cutting can seem daunting from the outside, but with a few tips it doesn't need to be. First, you need to gather your supplies - your fabric, the design, and some measuring and cutting tools.
From here, you can either use a little math and a careful eye, or create a template.
The first option requires checking the measurements of the fabric needed for that part of the design. This gives you some sizing that you can use while cutting. Using our latest Block of the Week Quilt - The Adventures of Ms. Stich - as an example, we can look at Block 2 and the various boxes we need to use fabric for.
I actually didn’t fussy cut for this block, but Erin, who made the block for the Team Quilt, did so for several of the boxes, and the design lends itself to this technique. Using the bottom left box as an example, we need a 5cm x 2.5cm (2” x 1”) rectangle of fabric. Taking a clear embroidery ruler, you can use the measurement marking to hover it over the fabric and see how the box would fit. Once cut, you can put it over the placement lines in the hoop and make sure it looks right when centring it in the design.
Now, while this technique is quick and easy, if you want something more precise, using a template is the best option. For the Kaleidoscope Quilt Bonus Block, we actually include a template you can print on transparent paper to use, like Martyn did in the video below.
However, you can also easily make a template yourself! Take the same measurements above, and draw the shape on a piece of paper. Cut out the shape so that you have a “window”, which you can now use on top of your fabric to see how the design will fit! This technique is particularly useful if you are using it multiple times for a design.

We use both techniques with success in the office, and hope you find it helpful in your projects too. Good luck and happy stitching!


Leave a comment
All comments are moderated before being published.
This site is protected by hCaptcha and the hCaptcha Privacy Policy and Terms of Service apply.