Sewing piping can add a finished touch to the edges of cushions, bags and purses, quilts and even clothing. It is both decorative and functional as it protects edges and makes seams both durable and beautiful.
Piping can also be used on sewing projects and clothing where you need a pop of contrasting colour.
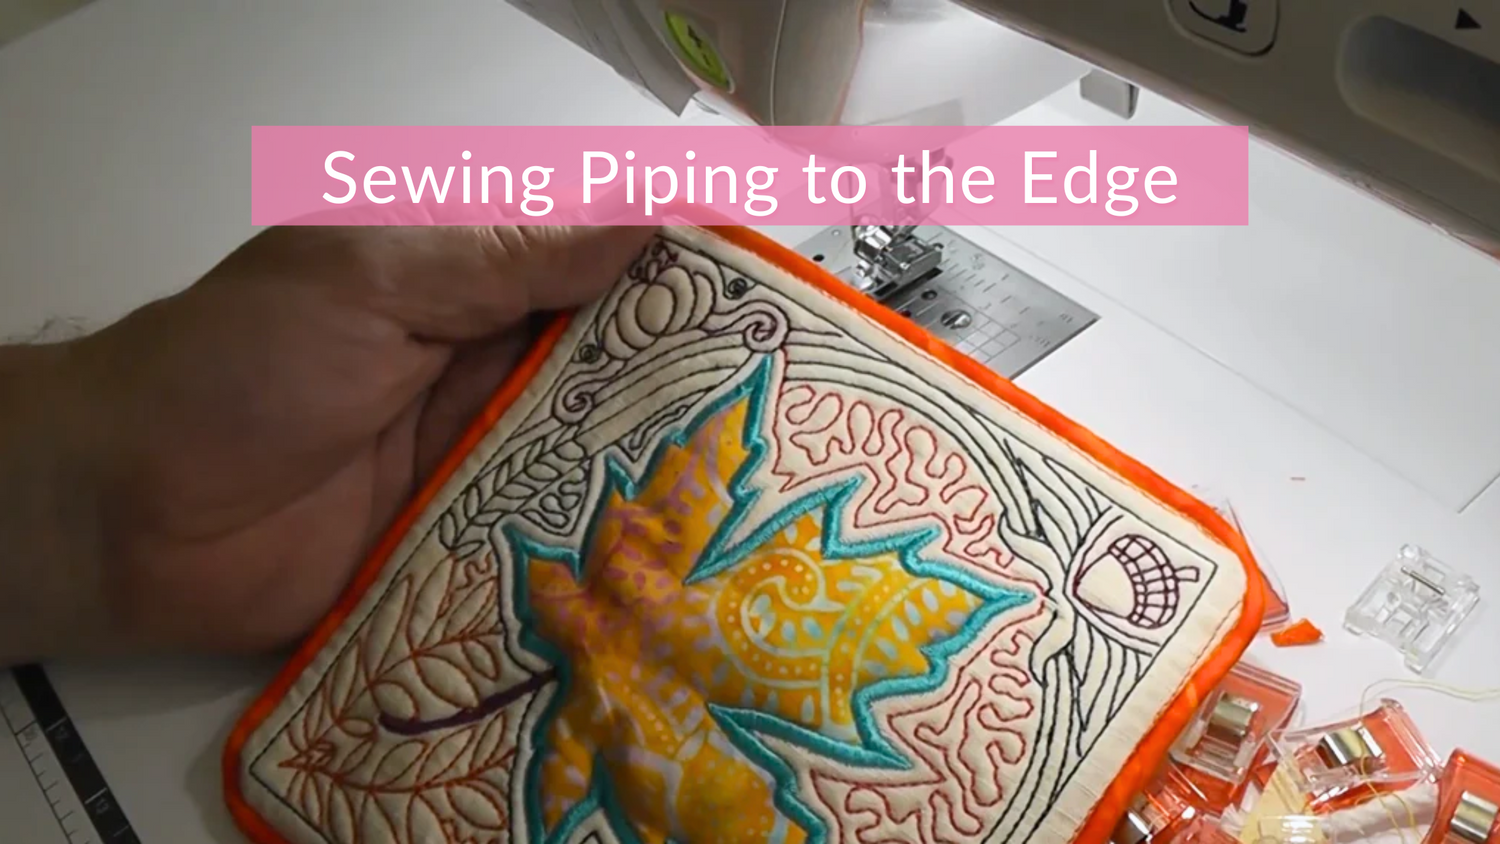
In this blog and video tutorial we are using a Piped binding that we have already made ourselves and sew it to the edge of a mug rug. If you would like to learn how to make your own binding please have a look at our 'How to Sew Piping' tutorial.
You will need:
- Piping Binding
- Quilt Lining
- Clips or Pins
- Scissors
- Zipper Foot (if you have one - not a requirement)
Starting with your piped binding, check to see that you have enough to stitch around your project.
Measure this by placing the binding around your project as a quick eye sight measure. You can also clip or pin this in place if you are concerned that you may need to make or buy more.

Get your lining cut for the back of your project, in our case our mug rug.

Start by pinning or clipping your Piped Binding into position around the edge of your project.
Once you get to the corner you'll see the point at the edge of your project.

When you get to this point you're going to make a cut into the piping. Be sure to not cut all the way into the stitching, but you'll be cutting quite close to it.
This will allow your piping to turn around the edge of your project freely and open at this corner.
We also recommend that you put two additional shallow nicks into your piping on either side of the initial corner cut. This just provides a little extra movement in your piping at your corners.

To allow some precision with where to place your cuts for the piping, we are lining our corner cuts to the outside stitched border of our mug rug.
Basically the edge that you'll be stitching the piping on.

Once you have your piping clipped or pinned into place, pop over to your sewing machine and we'll get this sewn.

Now that you're ready to go we're going to tidy up our piping and get ready to stitch. If you have a selvaged edge of fabric at the end of your piping, like us, take the end of this and cut it off to ensure it is flush.
 Next we are going to pinch your piping and grab in the inside rope or cord and pull this out by about 2.5cm (1") and trim that off.
 Once the inside rope or cord is trimmed, slide the outside fabric back into place.
If you fold over the fabric you should be able to easily feel the end of the cord inside the fabric.

At the start of the rope or cord put a pin or clip.
This is going to be the starting point for your Piped Binding edge.

Let's Sew! Starting at your pinned section of your piping, line your machine up (which will be about 2.5cm or 1" from the end of your piping) and stitch around the edge of your piping.
Be certain to keep your edges level and the presser foot right on the edge of your piping cord. We are using a Zipper Foot for this tutorial.
Zipper Foot
A zipper foot is able to adjust, so it is on the left or the right side of the sewing machine needle. This adjustment allows you to sew the zipper without the presser foot, applying pressure to the zipper teeth, which will not move when caught in the feed dogs because of pressure from a presser foot.
It is wonderful for piping as you can run this right along the edge of your cord or rope inside the piping.
You can also use a Piping Foot
The piping foot (sometimes referred to as the cording foot) is designed with two grooves on the underside and will hold and cover the cord when making piping tape. It can also be used for attaching piping. Maximum cord size is 5 mm.

As you make your way around your project, you may find that you have to adjust were you have clipped the piping to make room for your corners, like we have. This is fine. Simply add another cut into your fabric where the corner lays and continue to stitch.
The open edge on your piping will not impact this being attached to your project.

When you get around the final corner of your project, get a hold of the start of your piping (the section without the cord or rope) and pin this to your project to that it is slightly angled away from your edge (angled off to the right hand side).


From here you're going to lay the piping over the pinned end of the starting point of your binding and stitch up until the point where you can feel that the cord is in the piping again.
When you get to this point you're going to slightly veer your piping off to the left, and stitch off the edge of your binding.

Cut off your piping once you are finished, be sure to leave yourself a tail of about 2.5cm-5cm (1"-2").

When your piping is finished, you cannot really see the join as we have overlapped this.

As there is some bulk to your piping, do your best to pull out the excess cord from your piping and clip this back to where that intersection is.
This will allow that to lay as flat as possible and hide that join point.

Once you have your piping sewing in place you can add your backing.
Put your backing fabric onto the face of your project. Right sides facing each other (the design on your project facing the right side of your fabric).

Pin or clip your fabric to your project in the corners to hold it in place.

We recommend stitching your backing onto your project from your stitching side. This will ensure that your fabric is held in place better and will prevent you from gathering fabric at your corners.
This is our preference, you're able to have your project held in whatever way best suits you.

Start sewing a couple of inches away from your corner. You are going to be sewing on the very edge of your piping again.
Just take your time with your stitching as you want to be as close as you can to your piping cord without stitching into it.
Stitch all the way around your project and stop about 8cm - 10cm (3" - 4") before your starting point, this is going to be your turnout point.

When you're finished sewing, cut the bulk out of your corners and around the edges of your project. This will ensure that the corners and edges all lay flat.

Finally you turn your project through the small gap you've left in your stitching. The best way is to pull your fabric from the corners out.
Once this has been turned through, give your project a good press, cut off any straggler threads and either slip stitch or hand stitch your project closed.
We hope this has been helpful. We have more appliqué and sewing tutorials available on our blog.
We also have a wonderful online sewing community you can join to learn from, be inspired by and create with on Facebook: Sweet Pea Facebook Group
Be inspired to create by the projects posted on our Sweet Pea Pinterest Boards.


1 comment
Marietjie
Thank you for this very helpful info. Explained very good.
Leave a comment
All comments are moderated before being published.
This site is protected by hCaptcha and the hCaptcha Privacy Policy and Terms of Service apply.