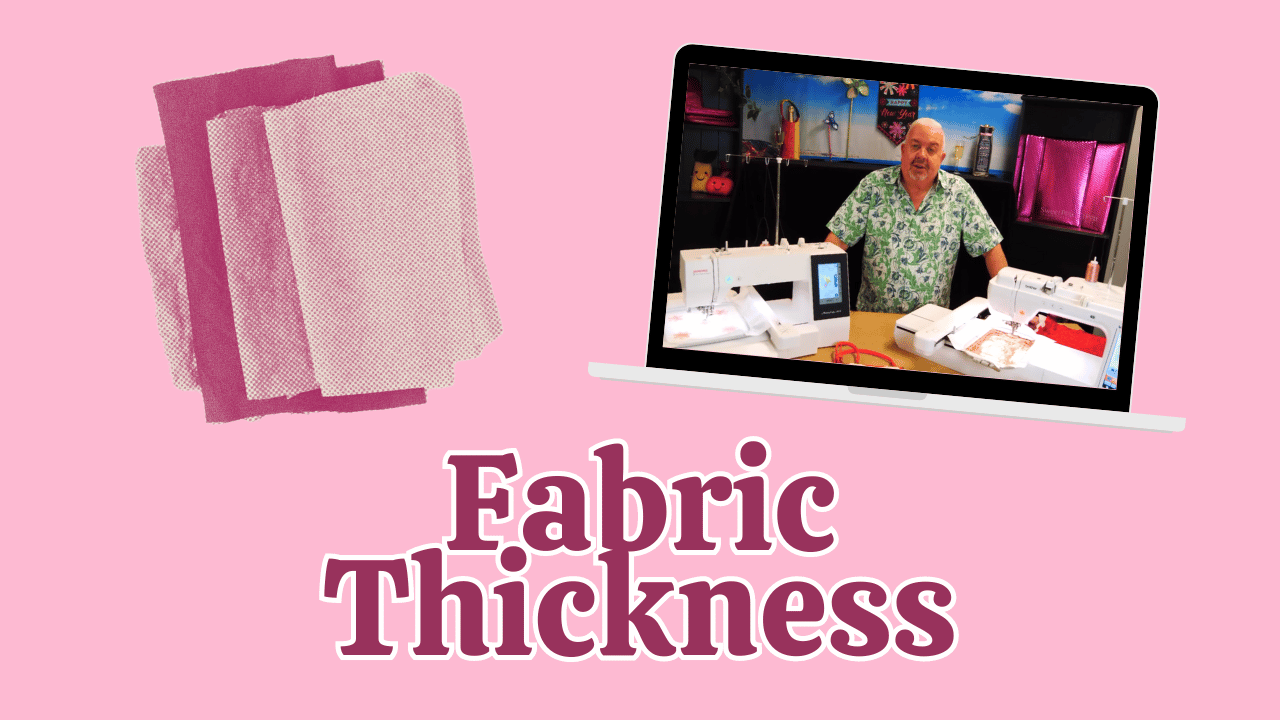
Embroidery projects often involve working with multiple layers of fabric, stabilisers, and intricate details, which can lead to thickness and sewing challenges. One critical aspect that influences the quality and success of embroidery is the embroidery foot height (or fabric thickness setting) on your sewing or embroidery machine. This guide explores the importance of embroidery foot height, how to adjust it across various machine brands, and practical tips for achieving optimal results.
The Significance of Embroidery Foot Height
Embroidery foot height refers to the distance between the presser foot and the needle plate during stitching. Adjusting this height is essential when working with thick fabrics like PU leather, foam, or layered quilting, ITH projects with multiple layers, seam insertion, or adding features like ears or appliqués. It also prevents thread abrasion and thread snapping caused by excessive friction, as well as maintaining proper registration and precise stitch placement. Foot height adjustment can help with thread abrasion, fabric puckering, poor registration, and thread shredding.
How to Adjust Embroidery Foot Height
The goal in adjusting foot height is to allow the foot to hover just above the fabric without pressing down or causing fabric to lift. Too high and the fabric may flap or shift, leading to registration issues. Too low and the foot presses too tightly, causing puckering, thread breakage, or difficulty moving.
Step-by-Step Process
- Prepare your materials: Piece of fabric, stabiliser, and any layers involved.
- Set up your machine: Attach the embroidery foot suitable for your machine.
- Position the fabric: Hoop your fabric and stabilizer securely.
- Lower the presser foot: Place the foot on the fabric, ensuring it’s just touching or hovering slightly above.
- Adjust the height: Use the machine’s settings or manual screw (if available) to increase or decrease the foot height.
- Test stitch: Run a test stitch to observe the fabric movement and thread behavior.
- Fine-tune as needed: Make incremental adjustments until the fabric glides smoothly without puckering or excessive movement.
Machine-Specific Adjustments
Bernina
- Settings: Access via the embroidery preferences menu.
- Embroidery Foot Height: Usually adjustable from 1.5 mm (default) up to 10 mm.
- How to Adjust: Enter embroidery mode, navigate to settings (gear icon), find Embroidery Foot Height and adjust using the touchscreen or dial.
Brother
- Settings: Found in the embroidery preferences menu.
- Standard: Default is 1.5 mm.
- How to Adjust: Access via the screen. Select Embroidery Foot Height and change with the slider or input to set desired height.
- Some models allow manual screw adjustments on the foot itself.
Janome
- Settings: Pogo foot with a spring mechanism.
- How to Adjust: Use the screw on the foot to manually increase or decrease height.
- Some models include a convertible free-motion quilting foot with height adjustment.
Husqvarna Viking
- Settings: Accessible via the embroidery menu.
- How to Adjust: Enter embroidery settings. Find Presser Foot Height or Floating Height and use plus/minus controls to set the desired clearance.
Practical Tips for Adjusting Foot Height
Start with default settings and gradually increase for thicker layers. Use test stitches to evaluate fabric movement and thread behavior. Adjust during the project as layers increase or change. Ensure even pressure across the hoop to maintain registration. Check your machine manual for specific instructions and maximum adjustment limits. And finally, consult your dealer if unsure about compatibility or adjustment procedures.
When and Why to Adjust Foot Height During a Project
- Layering multiple fabrics: Increase height to accommodate thickness.
- Adding seams or features: Adjust to prevent fabric from being pushed or pulled.
- Working with dense stabilisers: Raise foot to reduce pressure.
- Changing fabric types: Switch between delicate and thick materials.
- Multiple passes: Fine-tune after initial stitches for perfect registration.
Always remember to adjust incrementally as small changes yield better control and use consistent hooping for predictable results. Document your adjustments so you can use them on future projects. And of course, maintain your machine with regular cleaning and calibration to help with precise adjustments.
Properly setting the embroidery foot height minimises thread breakage, fabric puckering, and registration errors, especially when working with thick or layered materials. Modern machines offer various ways to adjust this setting, either digitally or manually, and understanding how to utilise these features can significantly improve your embroidery experience.
Whether you're a hobbyist or a professional, understanding and fine-tuning this setting can elevate your embroidery projects to new levels of precision and quality. Keep experimenting, stay curious, and enjoy creating stunning embroidered masterpieces!

Leave a comment
This site is protected by hCaptcha and the hCaptcha Privacy Policy and Terms of Service apply.