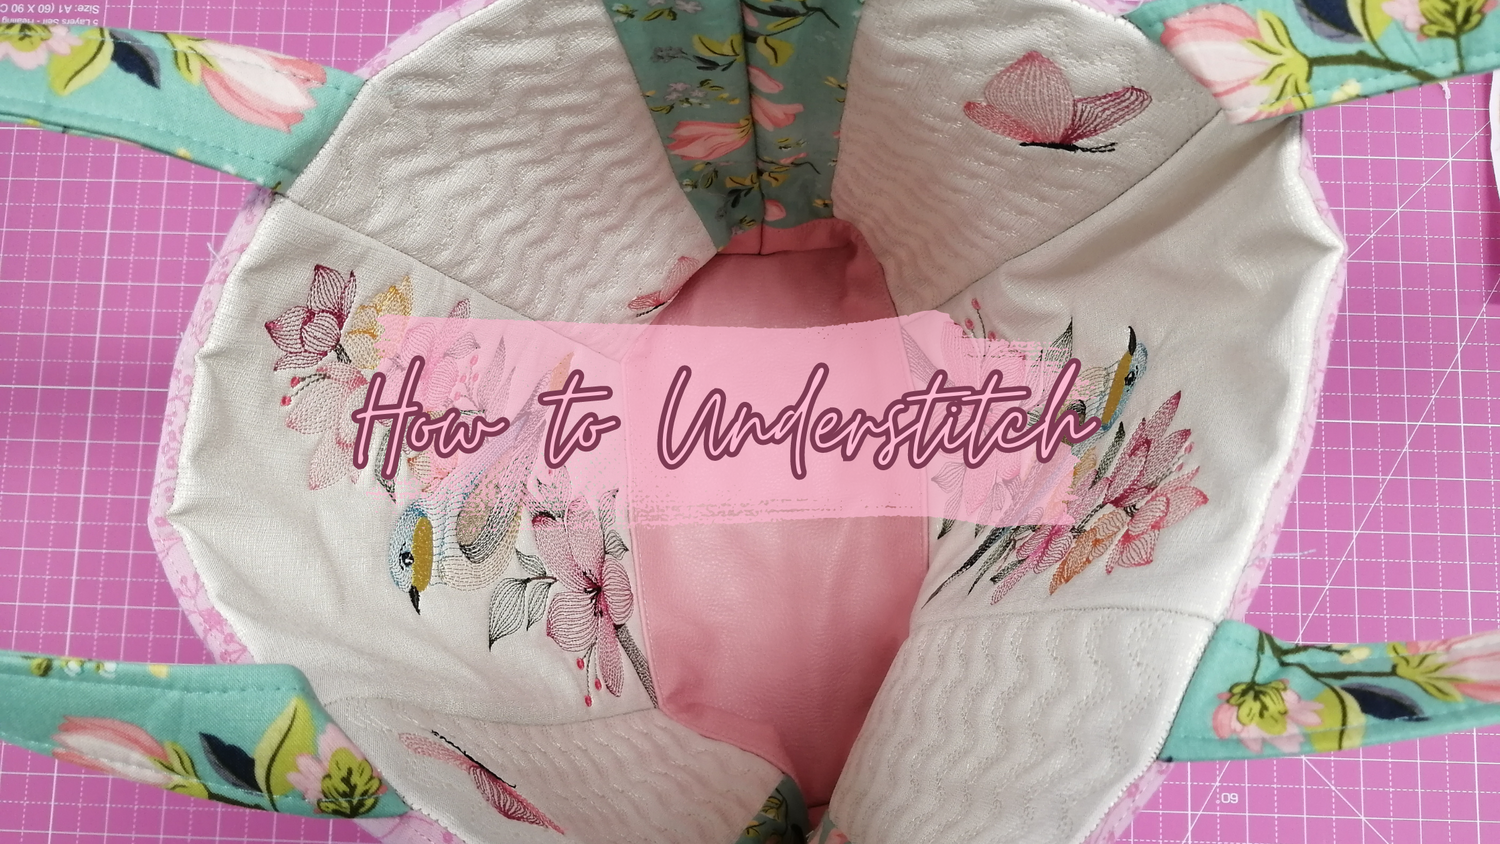
Understitching keeps all the seams together, in the same direction, held by stitching on the edge of the lining seam. Having the seams all pointing the same way prevents the lining from being visible from the right side of the work once complete. This technique is very useful on projects where linings or facings are concerned, as it creates a neat and stable edging.
How to do it
In this example, we will explain how to do an understitch on our Branching Out Embroidered Handbag. You can skip the first step if your item does not need the additional space on the machine.
For this particular project, first remove the extension table (or accessory tray) from the machine to expose the “free arm” (the narrow sewing surface). Slide the opening in the bottom of the lining onto the free arm to get easy access to the top bag/lining seam.

Using a 2-3mm (⅛”) seam width, stitch slowly along the lining seam edge of your bag with your bag facing up (right side of fabric up with the bag itself on the left and the lining on the right). You will be stitching through all the seam layers, with the seams pointing towards the lining itself and working through the opening in the lining for access to the bag seam. As you continue to stitch around the bag, you will have to twist and move the opening of the lining around with you.

At this point, especially with a bag that uses thicker outer fabrics, we like to do the following:
Measure the width of your bag.

In addition to understitching, we will now add an iron-on fusible webbing tape (Vliesofix Tape 20mm) to give the top/lining seam some extra support (this will allow us to glue the bag seam closed on itself, from the inside).

Measure the width of the bag and cut two lengths of the fusible webbing tape the same. Working on the inside of the bag (using the lining opening as an entry point), sandwich the fusible webbing up to the stitching line of the outer panel (block) side and pin or clip into place. Activate the webbing tape by following the manufacturer's instructions (with steam or heat and working with the lining side up). This technique will create a firm defined edge on the finished tote bag.
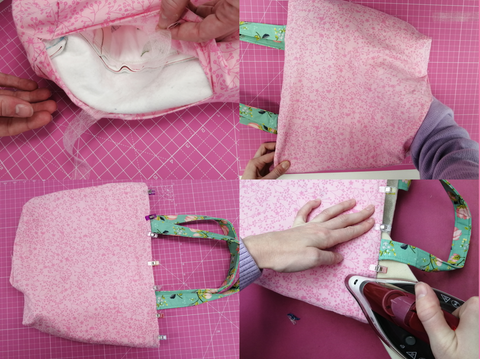
After this, follow the last few closing steps for the project and the project is complete!


2 comments
Janie Stegall
I really like this idea, never thought of it, THANK YOU for sharing. I am going to try this on my next purse.
Callise Roach
Thank you for explaining this. I have been wondering about how to keep the edges neat. It came up in FaceBook and I am really glad it did!
Leave a comment
All comments are moderated before being published.
This site is protected by hCaptcha and the hCaptcha Privacy Policy and Terms of Service apply.