A lightbox is a remarkably useful tool for any artist, designer, creative professional and craft lover looking to make the most out of their drawings, patterns and applique.
Lightboxes are tablet-shaped devices with a LED-backlit area. To trace, you have to place the reference image on the lightbox, then place a blank piece of paper or fabric on top.
Lightboxes are extremely helpful and if you have one that is wonderful, if you do not, however, here are a few useful little items you can use to make your own.
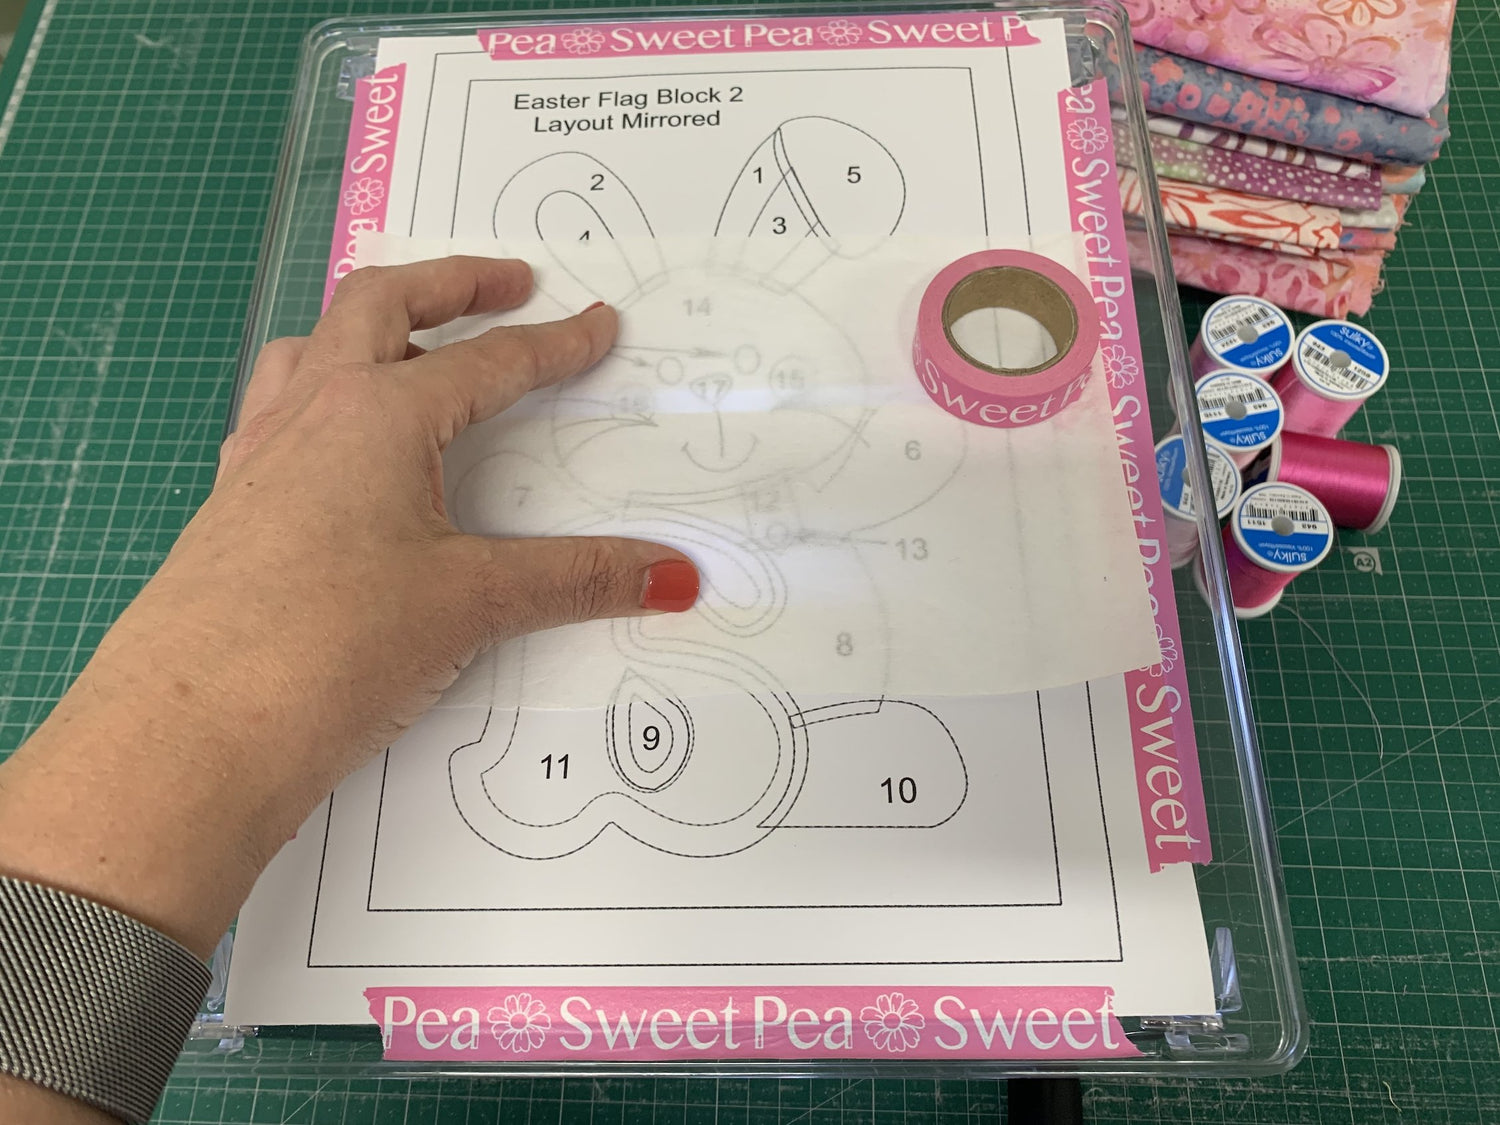
For this blog we are using our Easter Applique & Flag Pattern

DIY Light Box 1 - The Window.
Simply grab some sticky tape or washi tape and stick your reference image to the window.
We prefer washi tape as this is easily removed, will not tear your pattern and does not leave a sticky residue on windows.
Sweet Pea Washi Tape - Click here to buy our Sweet Pea Washi Tape

Hold or tape your fabric or paper to the window also and trace.
The only problem with this is you can only really do this during the day (possibly a bright night?) and only when it is bright enough outside.
It does work well though.
We popped down to our local KMart and picked up a few household items to make our next Light Boxes. You should be able to get a number of these items at a local kitchen storage, Walmart or general store.
You can make your own lightbox with the following items
- LED Lantern or Flashlight/Torch
- LED Light Strip
- Phone Flashlight/Tablet
- Lamp
- Or any light source you can put under the foldable table safely
DIY Light Box 2 - Foldable Shelf
The foldable shelf is found in the kitchen storage at KMart (Australia), these are made for the fridge. But should be found in most kitchen storage sections in stores.


Simply unfold the legs of the Foldable Shelf and put your light source (Phone/Tablet Flashlight, LED Strip Light or Flashlight/Torch) under so that this shines through your reference paper.

Tape your reference drawing to the shelf and trace onto your fabric or paper.
This was a great little item and even better because it is light, easily moved around the craft room and folds away neatly for storage.
It does wobble slightly though, so you cannot put a lot of pressure or lean on this heavily.
DIY Light Box 3 - Tupperware
We were also able to pick up a cheap 3L Lunch box from KMart, they have some great clear plastic shelves and bins that would be great to use also.


Simply put your light source into the Tupperware container, ensuring that this has a clear lid, without any writing or patterns on top and trace.

This is a quick and easy solution for a lightbox, however, while the LED Light Strip was the brightest, this has to be plugged into a USB to work which meant that the container couldn't be closed all the way.
It is also a little hard to find a container without any branding or patterns on the lid. These would make it quite difficult to trace over.
So that's our LightBox solutions!
If you have any other lightbox hacks that you would like to share, we would love for you to share them in our Sew Sweet Pea Facebook Group.
Click here to join our Sew Sweet Pea Facebook Group
All members of our Facebook Group have access to a FREE Teddy Bear Applique Set.

2 comments
ina meerveld
ga me hier is in verdiepen hoe we dat kunnen gaan maken lijkt me heel handig zo
Joy Hillhouse
Before I had an actual light box. I used my kitchen table that I removed the center leaf and laid a sheet of plexiglass over, and placed a lamp on the floor under the table and wa la Light box.
Leave a comment
All comments are moderated before being published.
This site is protected by hCaptcha and the hCaptcha Privacy Policy and Terms of Service apply.