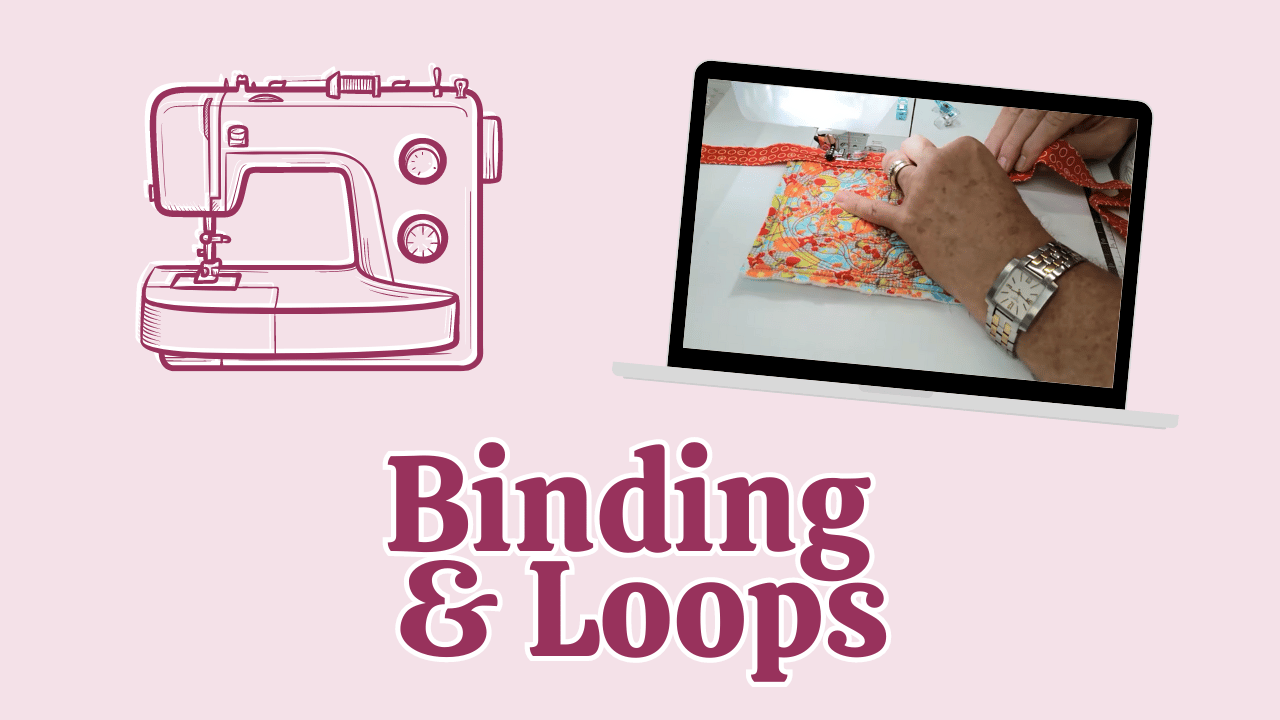
Learn how to make narrow binding and loops with Martyn as he finishes our ITH pot holder project!
This guide outlines the final steps of making a pot holder in the sewing machine, including how to assemble the embroidered panels, and how to add binding and loops.
Step-by-Step Instructions
1. Preparation of Layers
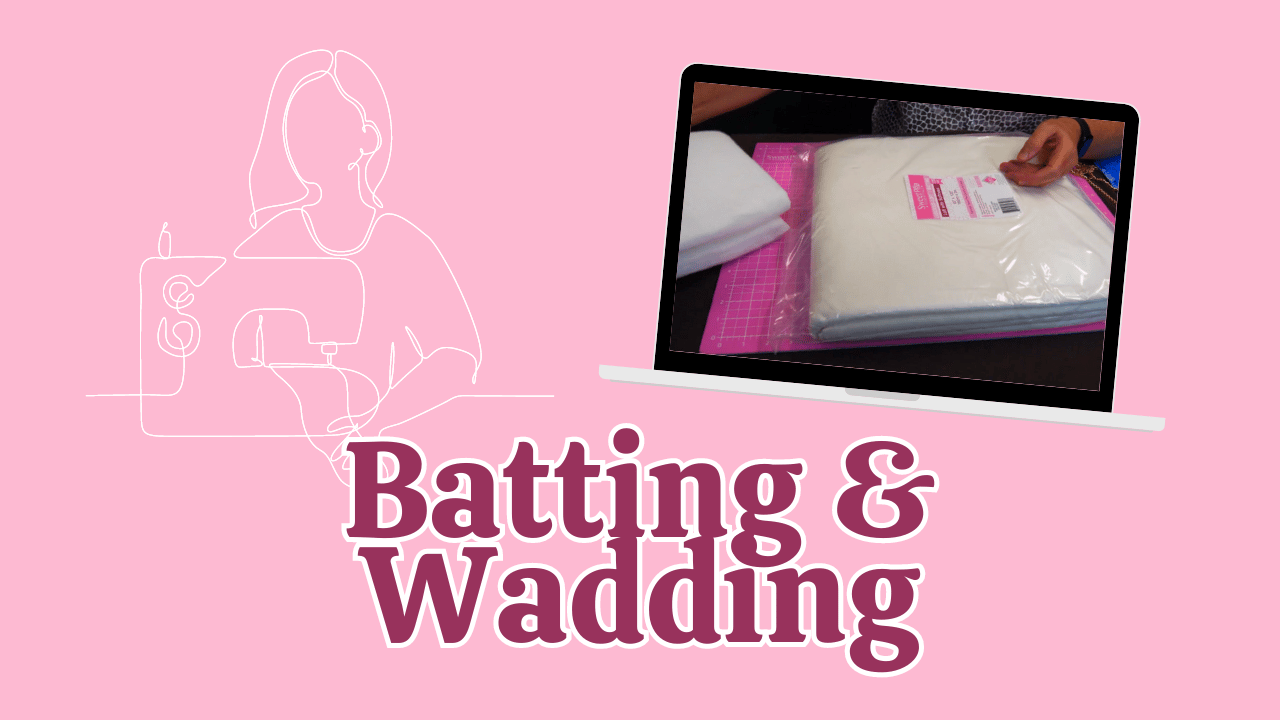
- Place the **wrong sides** of the fabric together, ensuring that the Insulbright is sandwiched in between.
- Clip all edges together securely.
2. Sewing the Edges
- Leave a **half-inch seam allowance** and sew around the perimeter.
- Use a longer stitch length for this initial seam to hold the layers together.
3. Trimming the Seam Allowance
- Trim the seam allowance back to **a quarter of an inch**. This step is crucial to avoid ripples and ensure a neat finish.
4. Creating the Binding
- Cut the binding fabric to **2.25 inches** wide and iron it in half.
- Lay the binding along the edge of the pot holder, starting with an **overlap of about 3 inches**.
5. Attaching the Binding
- Begin sewing the binding from the back or front, depending on your preference.
- Use the presser foot width (approximately **7.5 mm**) as a guide for stitching.
6. Corner Techniques
- When reaching a corner, pivot the fabric to create a **45-degree angle**.
- Fold the binding up and create a pleat at the top to ensure a clean corner finish.
7. Finishing the Binding
- Continue this process for all corners, ensuring that the binding wraps around the edges neatly.
- Clip the binding in place to secure it before sewing.
8. Creating the Loop
- Leave about **10 cm (4 inches)** of binding at the end to create a loop.
- Fold the loop and clip it into position before sewing over the binding.
9. Final Stitching
- Use a walking foot for even stitching, especially when dealing with bulk.
- Edge stitch along the binding, ensuring that all layers are secured.
10. Securing the Loop
- Trim the end of the binding and tuck it into the binding before stitching over it.
- Reinforce the loop with a few back-and-forth stitches to ensure durability.
Tips for Success
- Use Quality Materials: Ensure that your fabric and batting are of good quality to enhance the durability of your pot holder.
- Take Your Time: Don’t rush through the corners and binding; precision will yield a more professional-looking finish.
- Experiment with Colors: Use contrasting colors for the fabric and binding to create a visually appealing design.
This Sweet Pea Studio guide and video provides a comprehensive overview of the binding and loop for our pot holder that can be applied to any similar project under the machine. Good luck and happy sewing!
Leave a comment
This site is protected by hCaptcha and the hCaptcha Privacy Policy and Terms of Service apply.